This simple doll house design invites kids and grownups to work and play together. Kids will engage early learning skills to construct the dollhouse, then enjoy valuable pretend play with their finished small world space.
How to build a cardboard box doll house
This doll house is constructed from a large cardboard box. If you prefer a smaller DIY, this post has a miniature version of a doll house made with a small cardboard box.
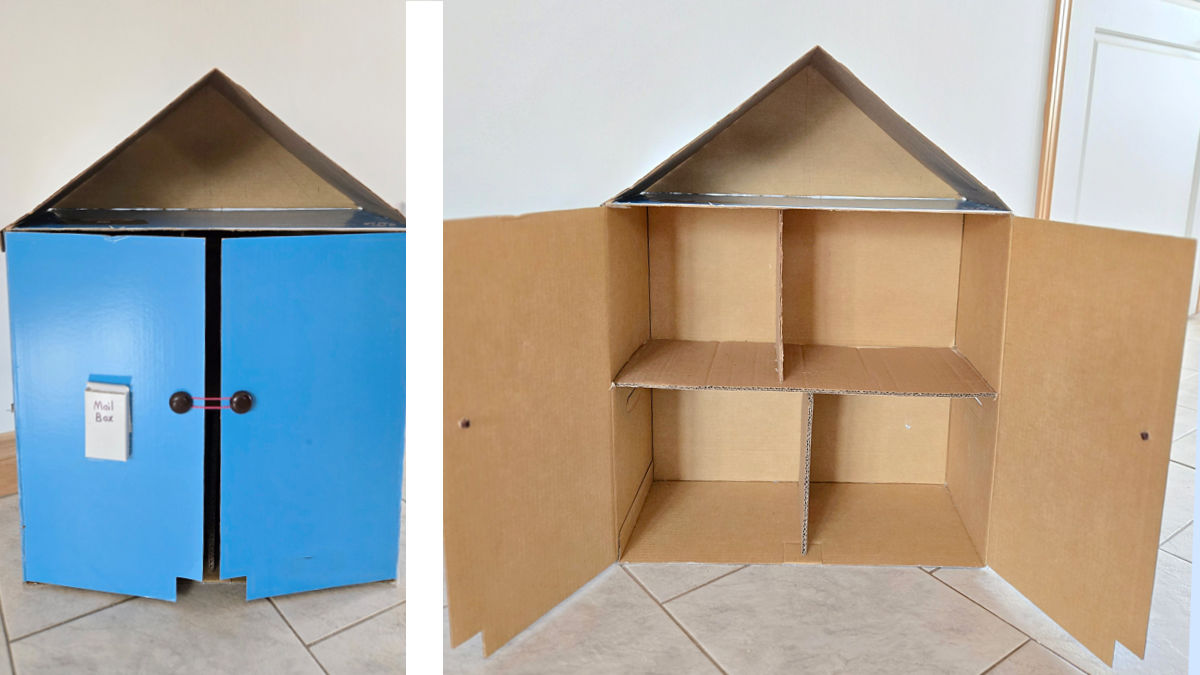
We kept the flaps on the cardboard box, to have the option to close the doll house when it is not in use. If preferred, the flaps can be removed so the interior of the doll house is visible at all times.
The doll house tutorial is six simple steps that will result in a fun play space for your preschooler.
Follow these six easy steps.
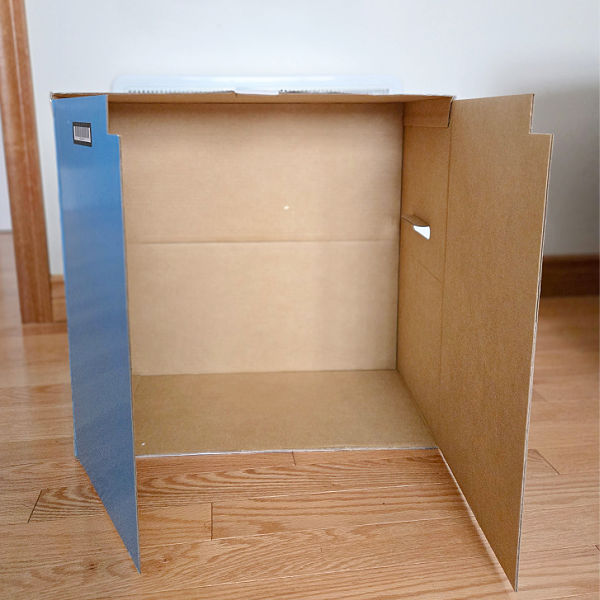
Step 1. Set a cardboard box on its side. Remove the flaps unless you choose to close them (as we did) when the play space is not in use.
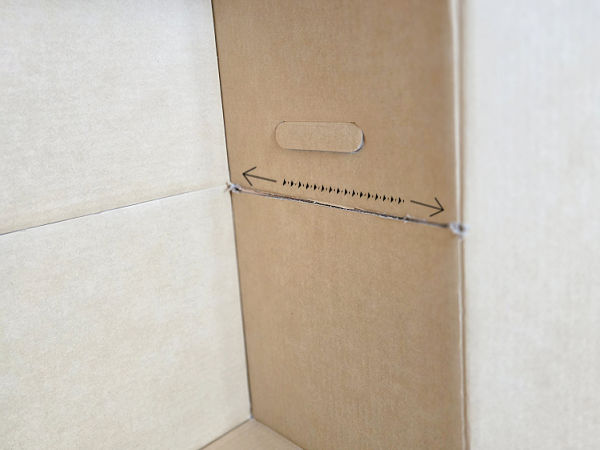
Step 2. Measure up from the bottom of the box to approximately the middle of the box on one side. Cut a narrow opening across the side of the box from back to front.
Repeat on the other side of the box.
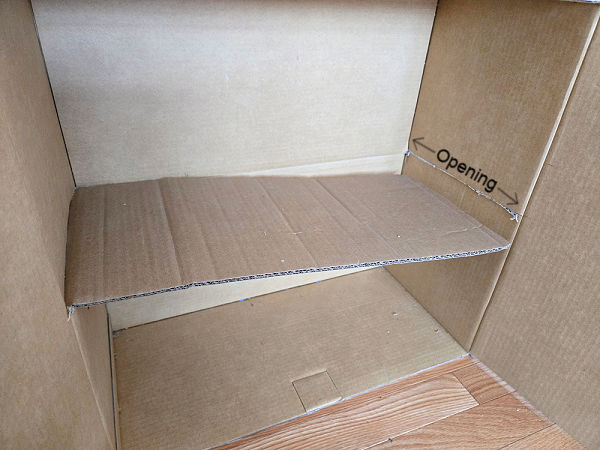
Step 3. Cut a piece of sturdy cardboard, slightly wider than the box, to make the second floor of the doll house. Insert the ends of the cardboard into the openings made in the sides of the box. Reinforce by applying glue with a glue gun along the seam where the cardboard rests in the opening.
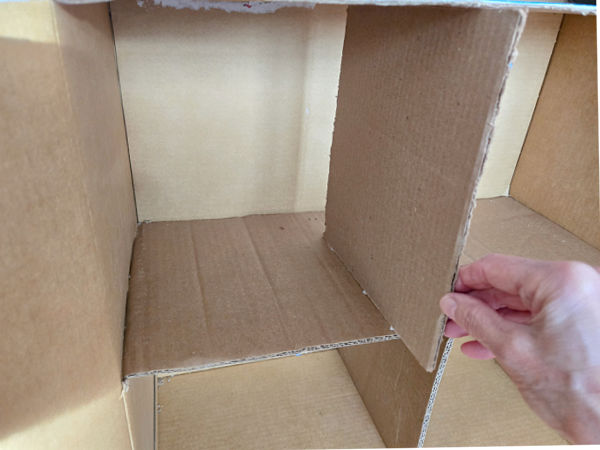
Step 4. Measure the distance from the bottom of the box to the first floor ceiling (the underside of the second floor). Cut a piece of cardboard to this height and the depth of the box to form a dividing wall.
Repeat for the second floor, measuring from floor to ceiling for the height of the wall.
Spread glue with a glue gun on the top and bottom edge of each cardboard wall, then slide the walls in until they touch the back wall of the house.
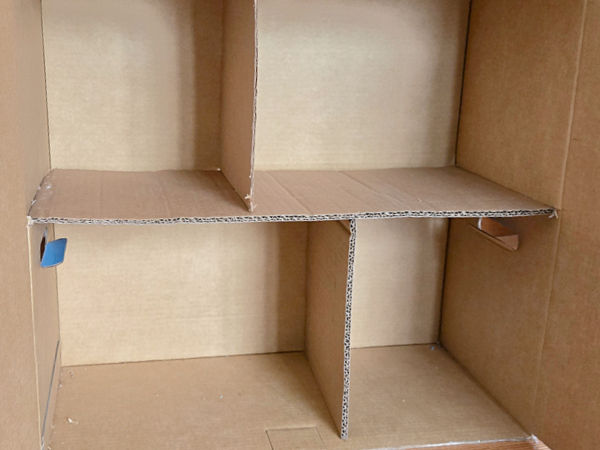
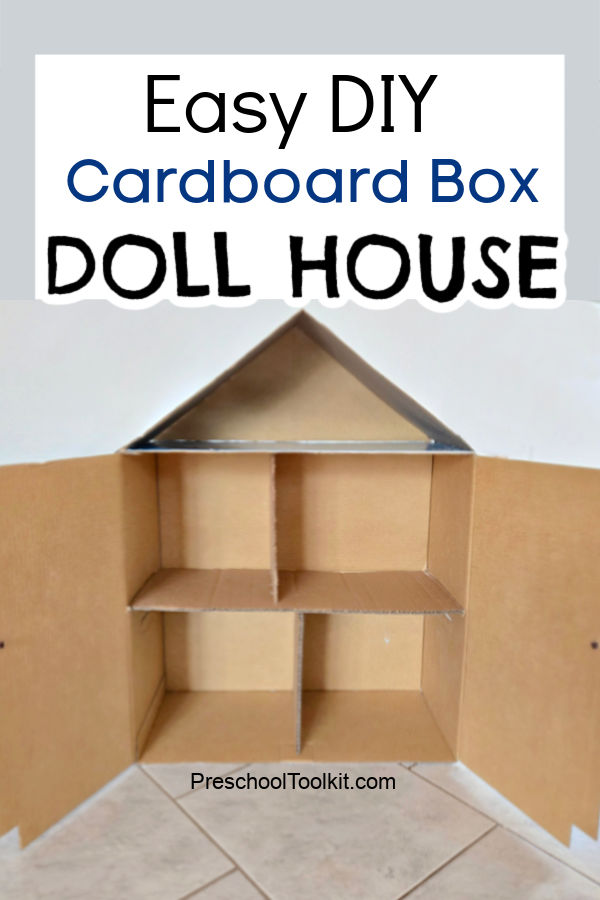
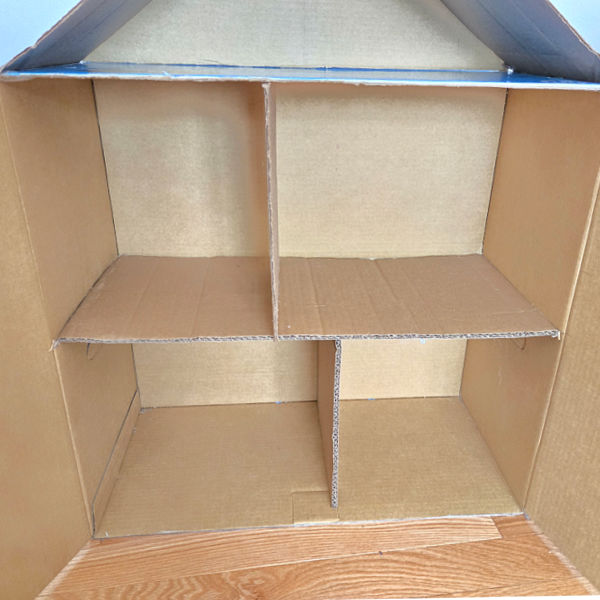
Here is how the four rooms and two floors look in our doll house. The placement of the floor and walls may vary according to your design and available materials.
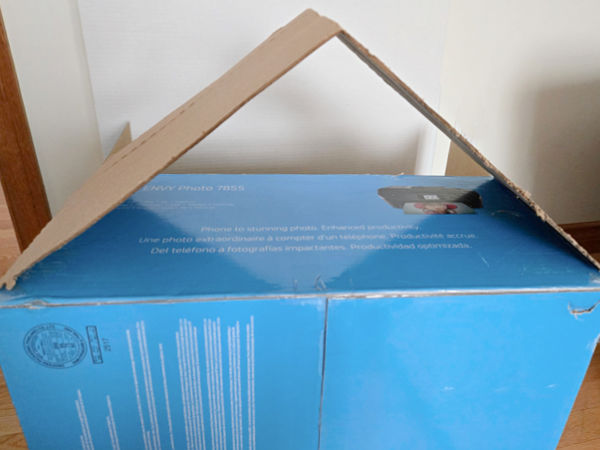
Step 5. Bend a piece of cardboard in the middle to make a slanted roof for the dollhouse. Attach to either side of the doll house, at the top, with tape.
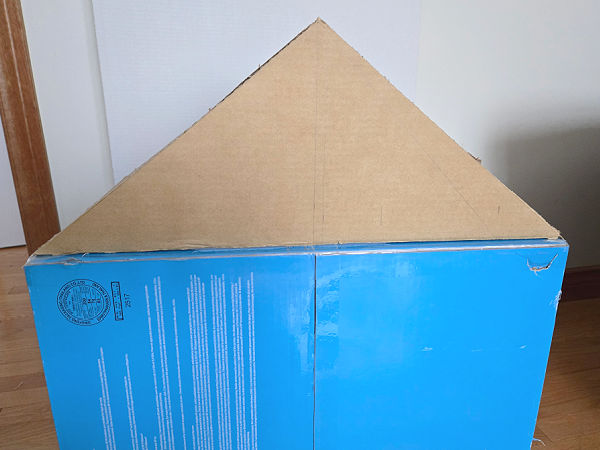
Step 6. Cut out a piece of cardboard to fill in the open triangle in the roof at the back of the house. Secure to the doll house with tape or glue gun.
Here is a view of the roof and the rooms in our cardboard doll house.
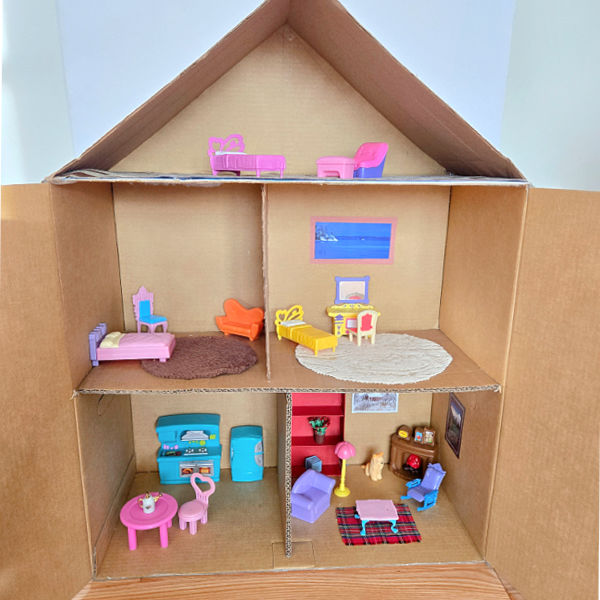
Furnish the interior of the doll house. Start with a few items and add or remove items according to the interests of your child.
You can purchase plastic dollhouse furniture or wooden dollhouse furniture to fill your new play space.
- Cut small pictures from magazines to place on the walls.
- Cut floor mats and carpets from fabric scraps.
- Use a small piece of cardboard packaging for a bookcase.
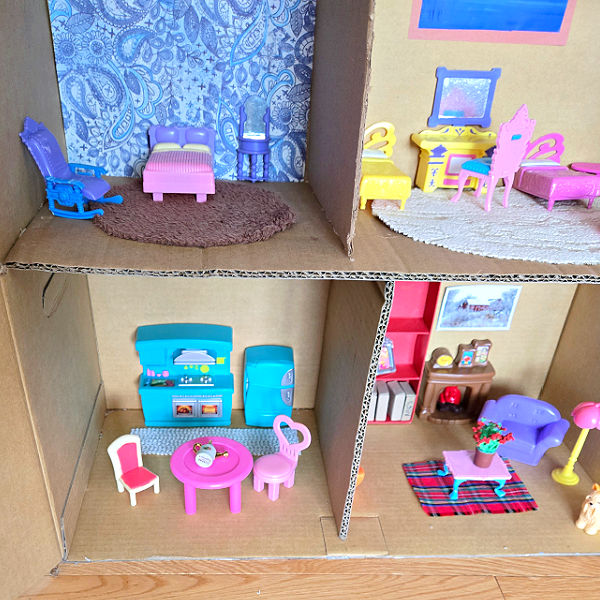
Decorate the doll house with other items you have available, such as patterned paper for wallpaper, or miniature items you find at the dollar store or lightly-used store.
Arrange and rearrange moveable parts as part of the play. This engages kids critical thinking and spatial awareness skills.
A doll house is a valuable play space for early learners. It invites hands-on interaction with materials, supporting fine motor, creative and language skills as kids play.