

All aboard for some fun pretend play with trains! You can easily transform a cardboard box into a train station for small world play. Passengers will soon be gathering at the station to board the Playtime Express.

Privacy Policy for information on use of cookies and affiliate links
Play time with trains has always been popular with kids. And this train station craft is the perfect way to extend the play.
This train station is made with a shoe box that has an attached lid. Once you build the station, you can add to the fun with a homemade train track and train cars or a locomotive.
- A locomotive chugging down the tracks, a passenger train stopping at the station, and a train car filled with cargo are all part of the fun.
There is lots of room for creativity in this craft, so you can use supplies you have on hand.
Shoe box train station

Supplies for a train station craft
- cardboard shoe box with attached hinged lid
- straws or dowels
- construction paper
Instructions for the train station

Prepare the shoe box.
1. Lay the box on its side. Extend the lid outward – it will become the awning.
- Remove the folded edge on the long side of the lid (the part that is inserted into the box when your close the box).
Leave the side flaps in place to become part of a wall and the station doors.
2. Cut a rectangle from white card stock the same length as the shoe box.
Fold back a portion of the long side of the card stock to make a tab. Tape or glue the tab onto the roof so the sign stands upright.
3. Cover the shoe box with construction paper.

Make the awning.
4. Make holes in the box and the lid as shown in the above photo.
- Push a straw through the hole in the awning. Bend the straw to insert a length of the straw through the hole in the shoe box wall.
Allow a portion of each straw to extend above the awning. A decorative feature will be added later in the tutorial.
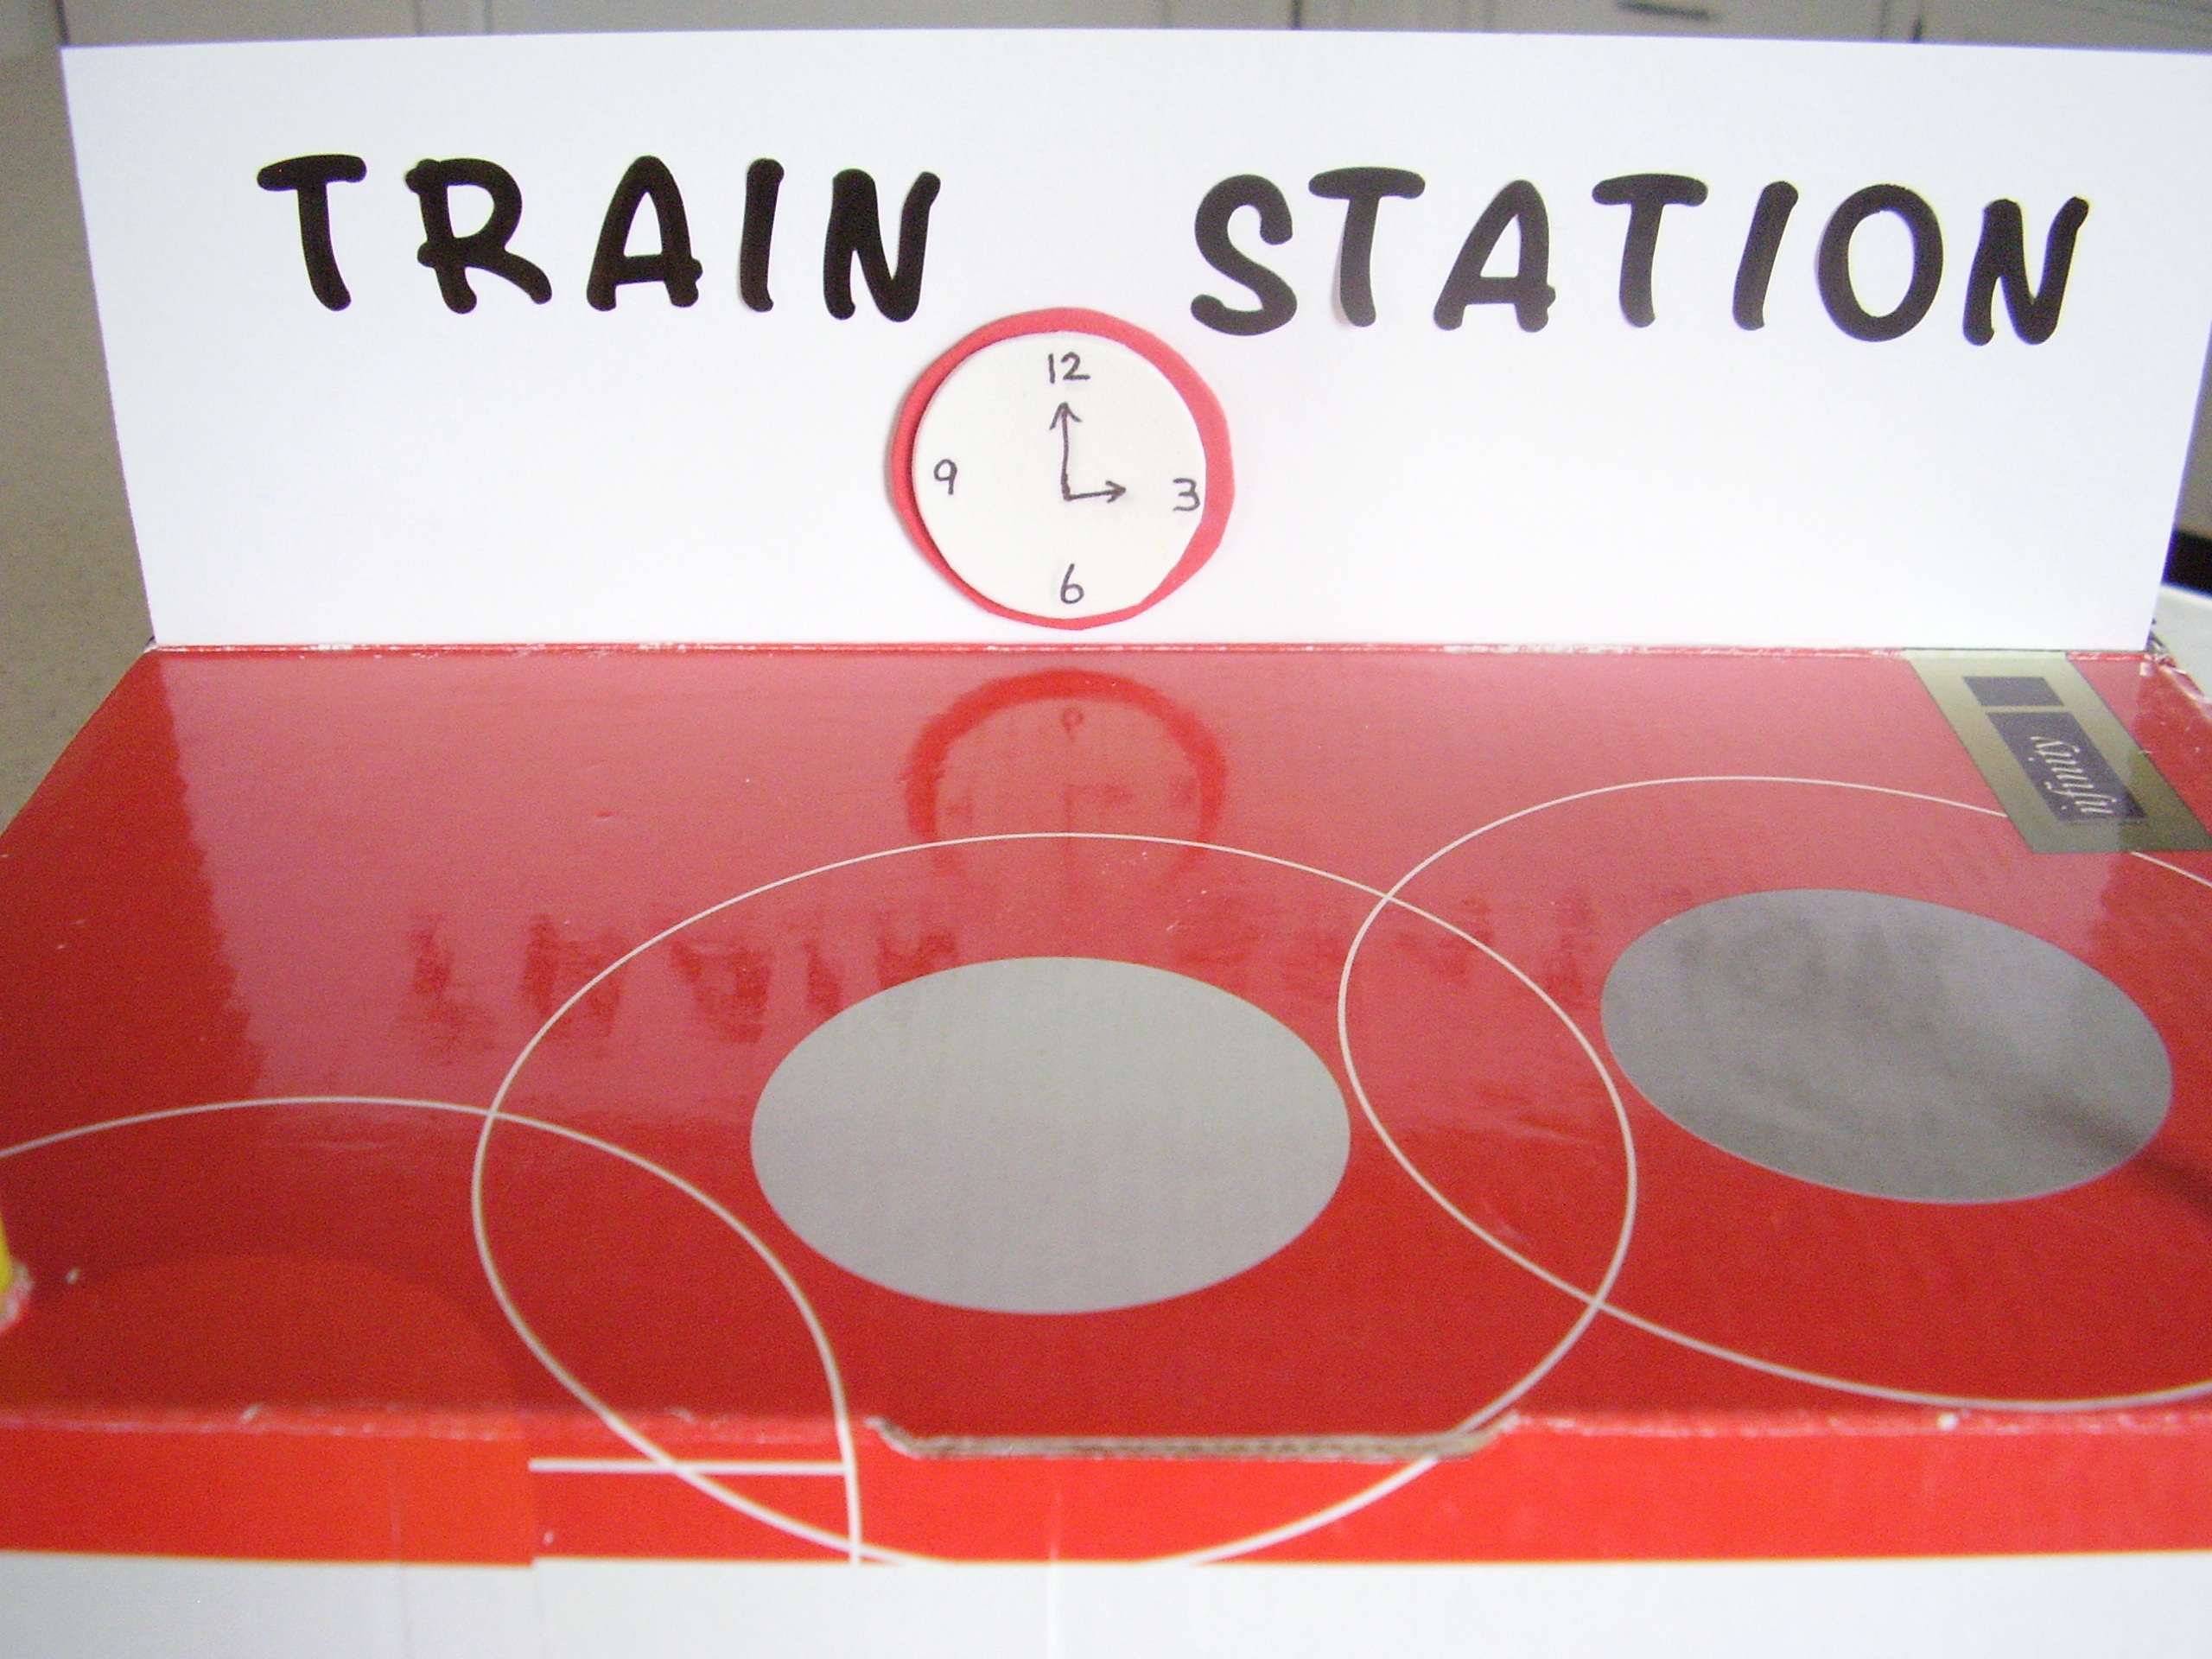
Make the clock and sign.
5. Cut a circle from white craft foam for the clock. Add numbers and clock hands with fine point marker.
Glue the white circle to a slightly larger red foam circle. Glue the clock to the sign.
6. Apply ‘train station’ with self-adhesive letters or a black marker.
- You could add the name of the town if preferred.

Leave the flaps to serve as doors that can be opened or closed, or remove completely to create a clear entrance.

Here’s another option for using straws to support the awning.
Make holes in the lid as shown.
- Note that the folded edge of the shoe box lid has not been removed, but remains as part of the awning.
Push the straws through the holes in the lid, then into modeling clay.

Flags and more!
7. Cut flag shapes from paper or felt. Fold the short side around the extra length of straw standing up above the awning. Glue or tape in place.
8. Add other pieces to complete the small world scene: a bench or trees; vehicles in a parking lot; small figures as passengers waiting at the station.
Now you’re ready to play!

Place your train station near the train track.
Hurry and get your tickets at the station! The Playtime Express is arriving soon!
Related: Transportation Unit Preschool Lesson Plans (affiliate link)
Train station DIY for small world play
Support kids’ love of trains with this easy train station craft. It will jumpstart the creativity, while building language and fine motor skills.
Use your imagination and items you have on hand to complete the craft. Then kids will bring their imaginations to the play time!

Follow us on Facebook, Pinterest, Instagram and Twitter.