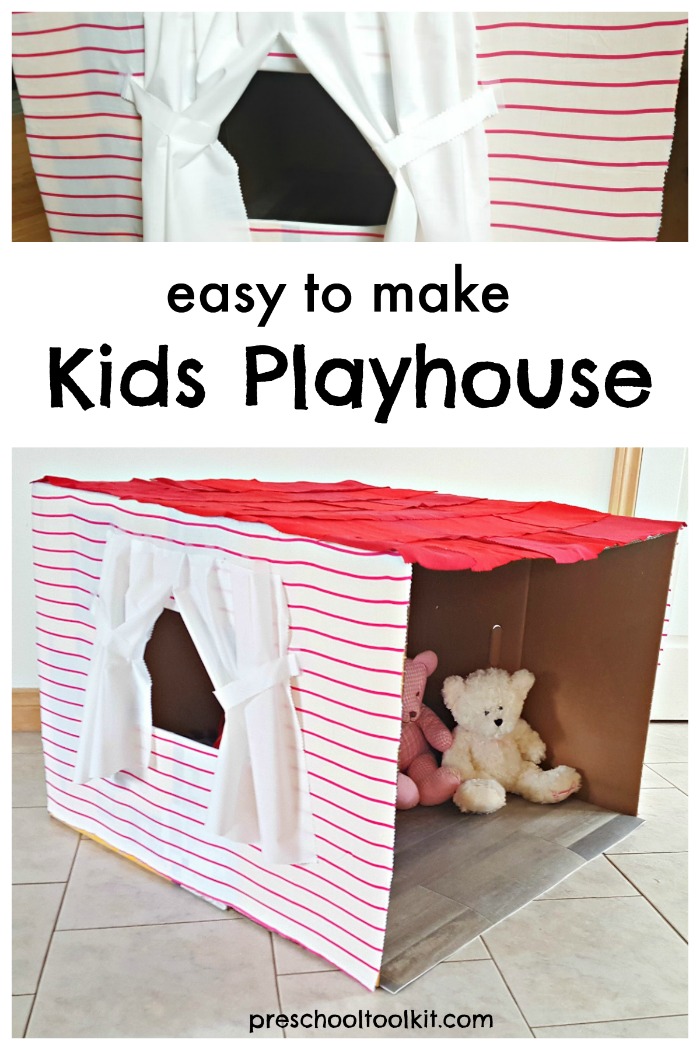
A playhouse for the kids is a fun DIY that starts with a large cardboard box. This is a great family project that inspires awesome pretend play.
Privacy Policy for more information on cookies and affiliate links
This cozy little house is hard to resist! It’s an invitation to play any toddler or preschooler will love.
You can create this cozy play area with the help of your toddler or preschooler. You’ll be providing opportunities for hands-on learning, planning and building the house together.
With something as simple as a recycled box, you can create the magic of pretend play for your early learner. Start the play and learning today!
Related: DIY Kid-Size Play Spaces
Cardboard box playhouse
This might be the easiest design ever for a kids playhouse – no special tools or large chunks of time needed.
Supplies for a kids playhouse
- fabric scraps
- packing tape or clear tape
- scissors
- glue stick
Instructions for a kids tiny house
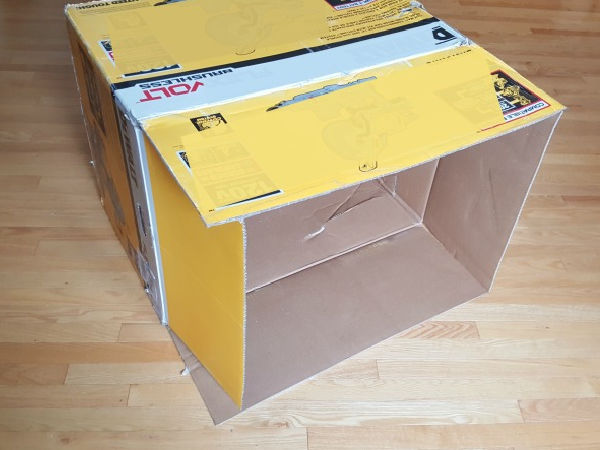
1. Set a large cardboard box on its side.
2. Extend the flaps on four sides to make a roomy nook for your toddler or preschooler.
3. Tape the box flaps together at the corners to support the roof and keep the sides in place.
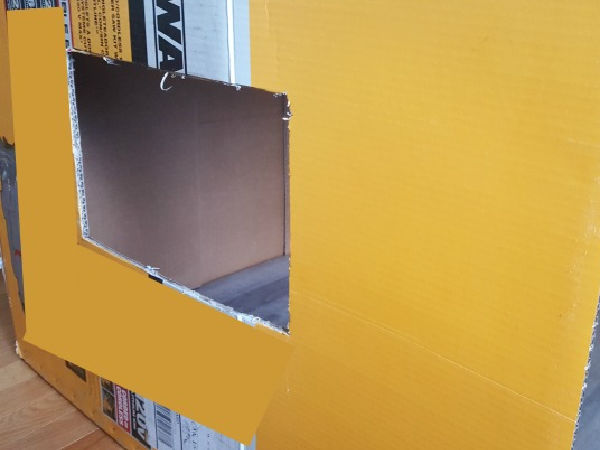
4. Cut out a window in the wall with scissors or a craft knife.
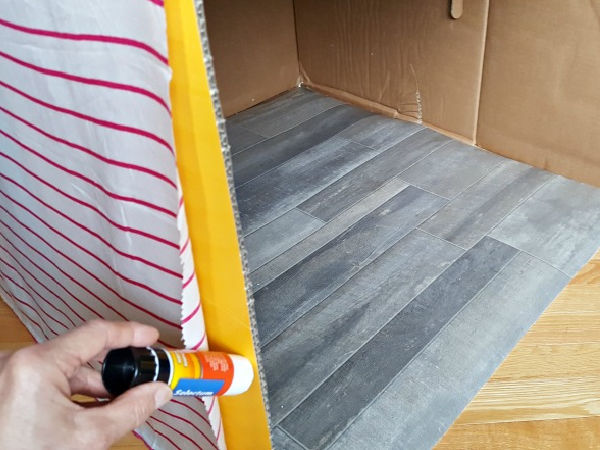
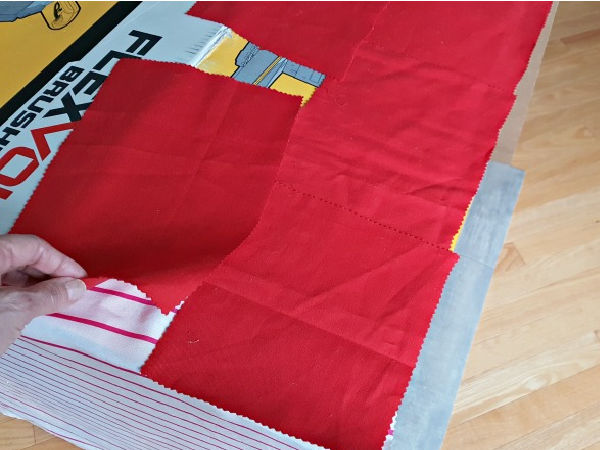
5. Glue pieces of fabric over the sides of the box.
- I used a stretchy fabric to cover the tiny house. The fabric attached nicely to the box with just a glue stick, but use a glue gun or tape if preferred. Some glue guns are kid-friendly which is beneficial if kids will be helping.
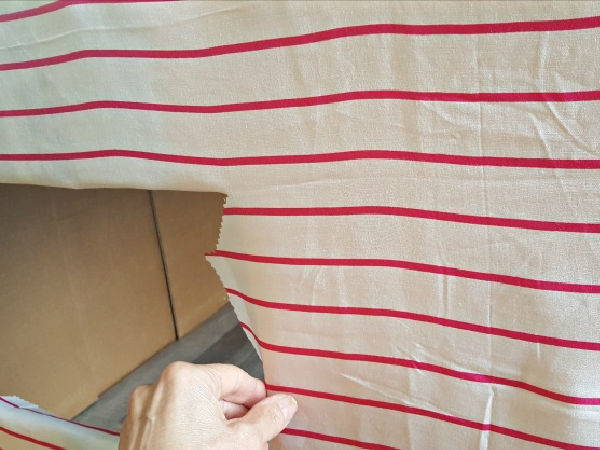
- I cut all fabric edges with pinking shears (optional) to help reduce fraying, but it also adds a nicely finished edge.
- If you don’t have a piece of fabric large enough to cover the side you can make a pattern with several smaller pieces.
6. Make a cut in the fabric covering the window opening, approximately in the center of the window.
- Cut away the fabric to reveal the window opening, leaving a 2 inch (5 cm) border.
- Fold the border to the inside of the house on all four edges of the window (see photo below).
- Tape the fabric on the inside to secure. This will create a nice finished look around the window.

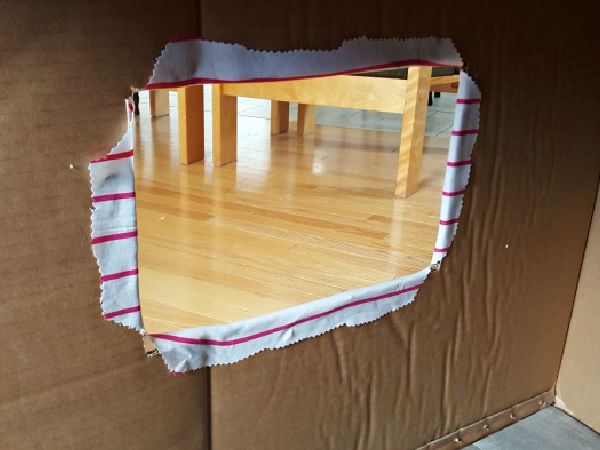
Inside view
7. Cover the roof with fabric shingles to resemble roofing tiles.
- We cut roofing tiles from some discarded t-shirts. We used a few different shades of red. The tiles measure 7 x 11 inches (18 x 28 cm)and 7 x 6 inches (18 x 15 cm).
Part of the project is designing the pattern of roofing tiles, including overlapping the tiles.
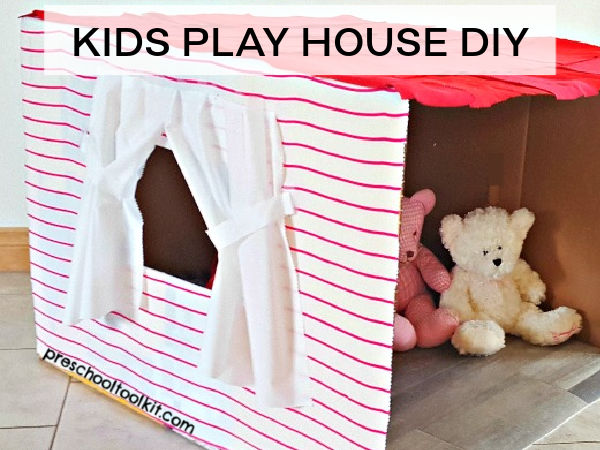
8. Make a window curtain.
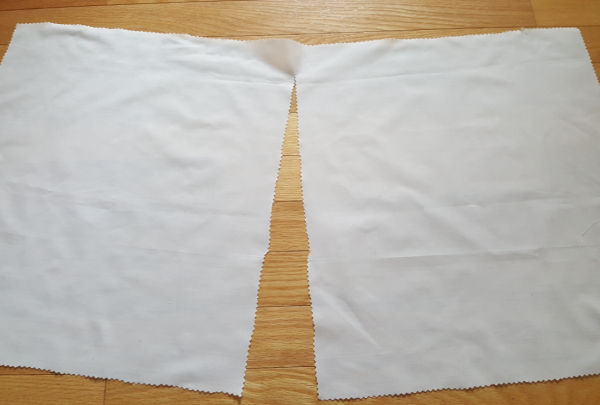
- Cut a piece of fabric twice as wide as the window opening, and a little longer than the window opening.
- Cut down the center of the fabric with pinking shears, leaving a 2 inch (5 cm) edge at the top.
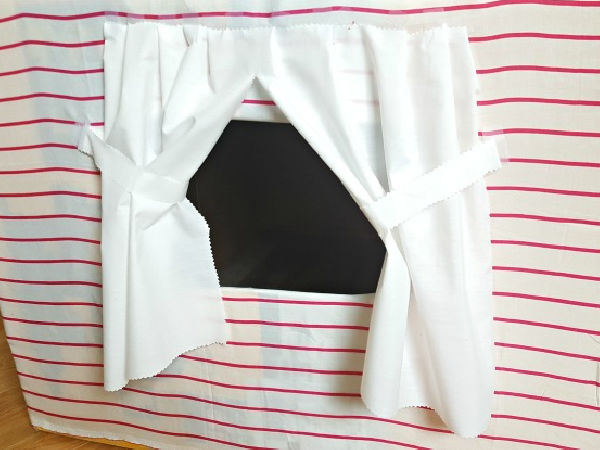
- Tape the curtains to the window, or glue in place with a glue gun.
- Make pleats in the fabric as you tape the curtain to the wall of the house. This makes a nice full curtain. You can sew pleats by hand or sewing machine before attaching to the wall if preferred.
- Make pleats in the fabric as you tape the curtain to the wall of the house. This makes a nice full curtain. You can sew pleats by hand or sewing machine before attaching to the wall if preferred.
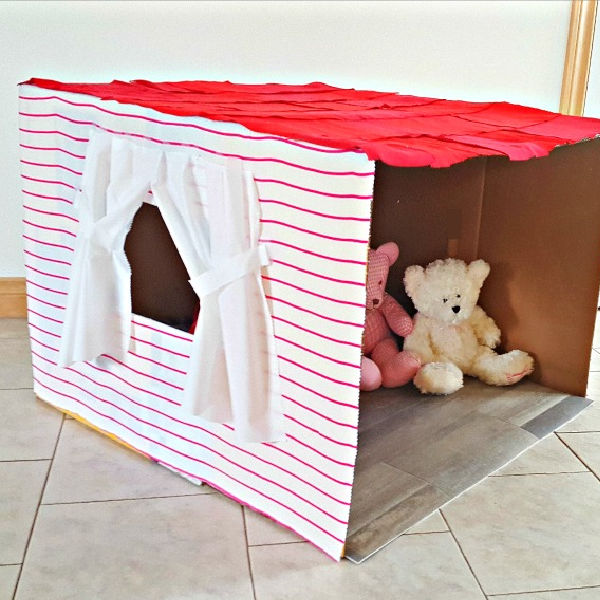
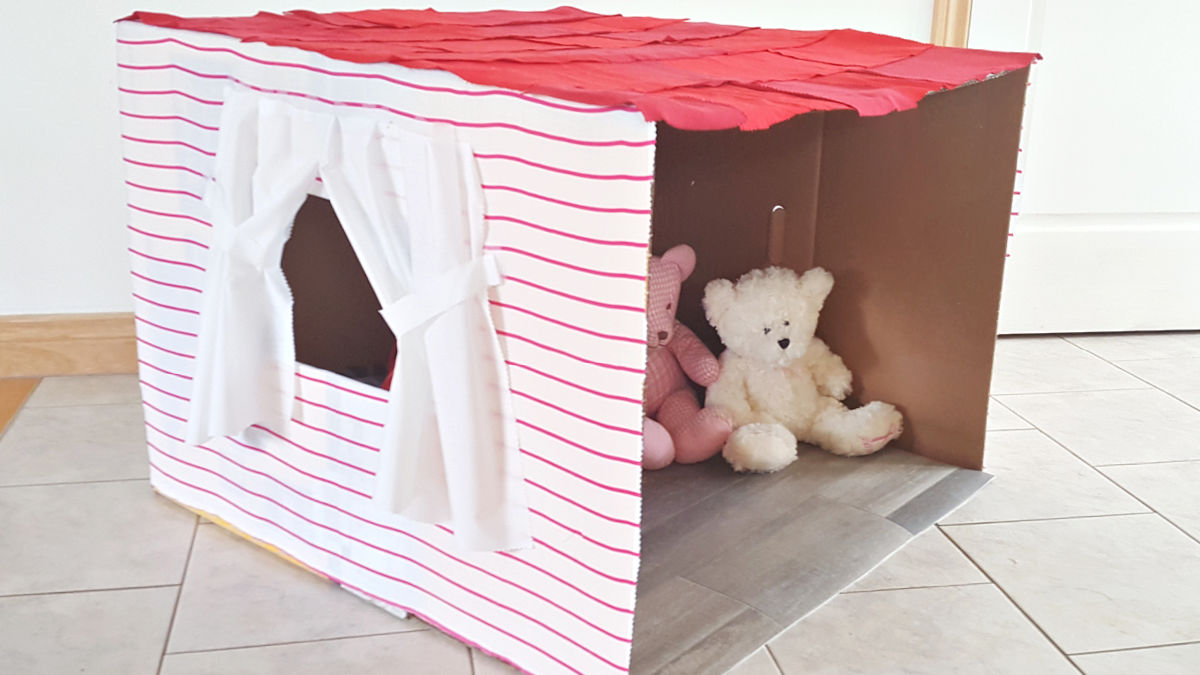
Add toys, pillows, blankets and books and your cozy playhouse is ready for some fun pretend play.
I’m sure it will be hard for you to resist a visit inside!