Kids can make a winter castle for exciting small world adventures. This winter castle, made with everyday materials, provides a perfect opportunity for adding both STEAM and pretend play to your daily activities.
Privacy and Disclosure for information on the use of affiliates and cookies
This winter castle activity is three play invitations in one: a craft, a science project, and a small world adventure. That means endless possibilities for interpretation, imagination, and innovation.
The main ingredients are recyclables and everyday items from around the house or the craft cupboard. Kids can choose materials, design the layout, and create stories around the characters who live in the castle.
With open-ended early learning activities like this one, participation and engagement are more important than the outcome.
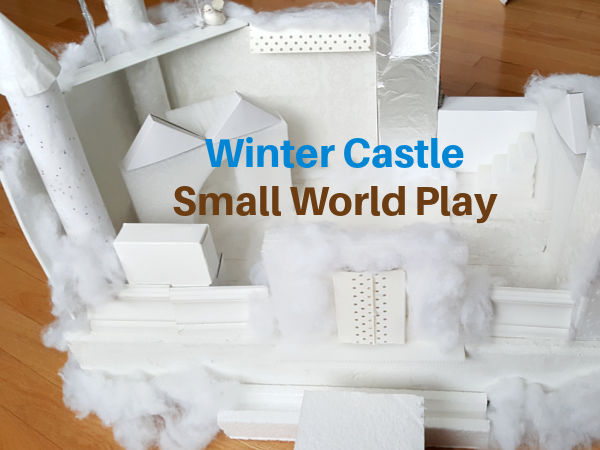
Winter castle craft and small world play
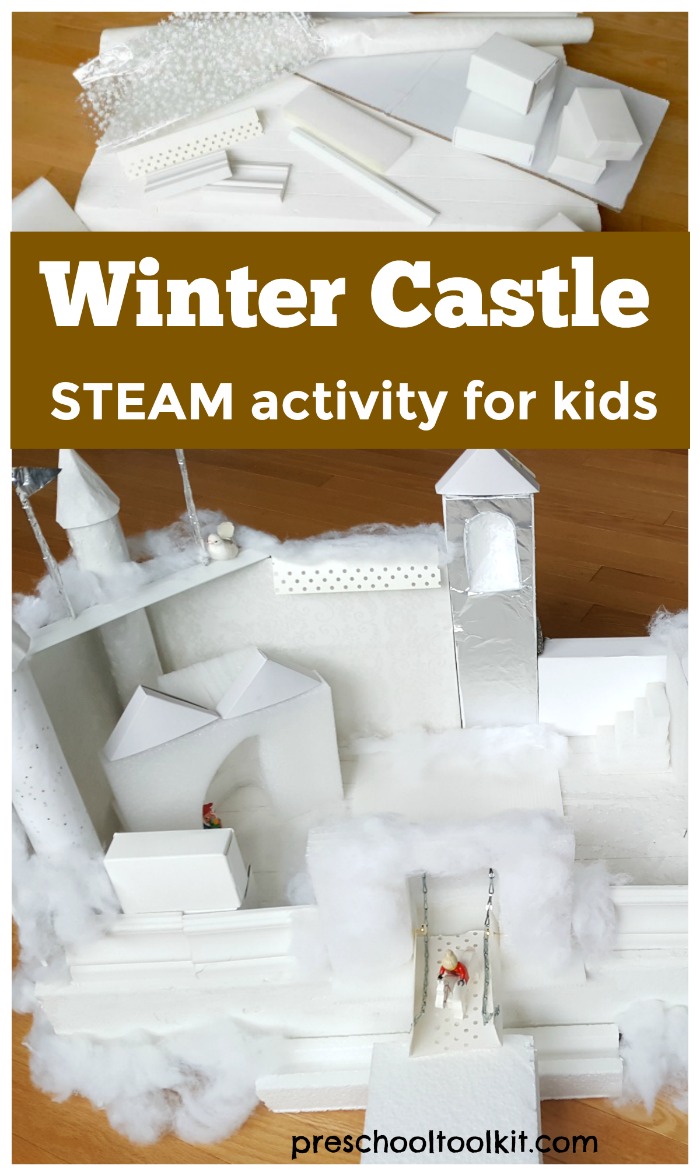
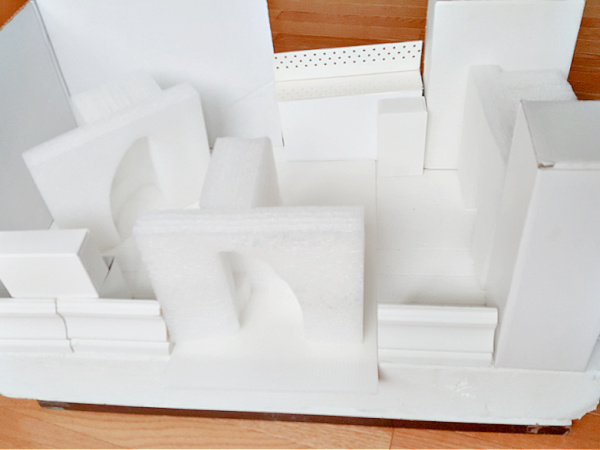
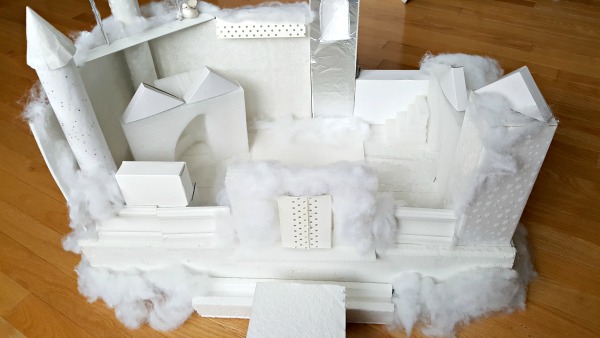
Assemble a variety of materials that inspire creativity and experimentation. Include lots of white or silver materials to give the castle its frosty, winter appearance.
Your castle will be unique, depending on the materials you have on hand.
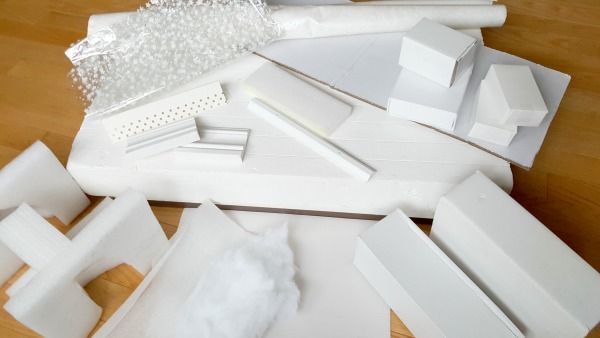
Here are a few ideas for materials for building the castle.
- large piece of solid foam for the base
- white wrapping and tissue papers, glitter paper and foil
- small white boxes
- white building materials (baseboard trim, wall corner trim)
- foam packaging
- cotton batting, cotton cosmetic rounds, or cotton balls
- cardboard tubes
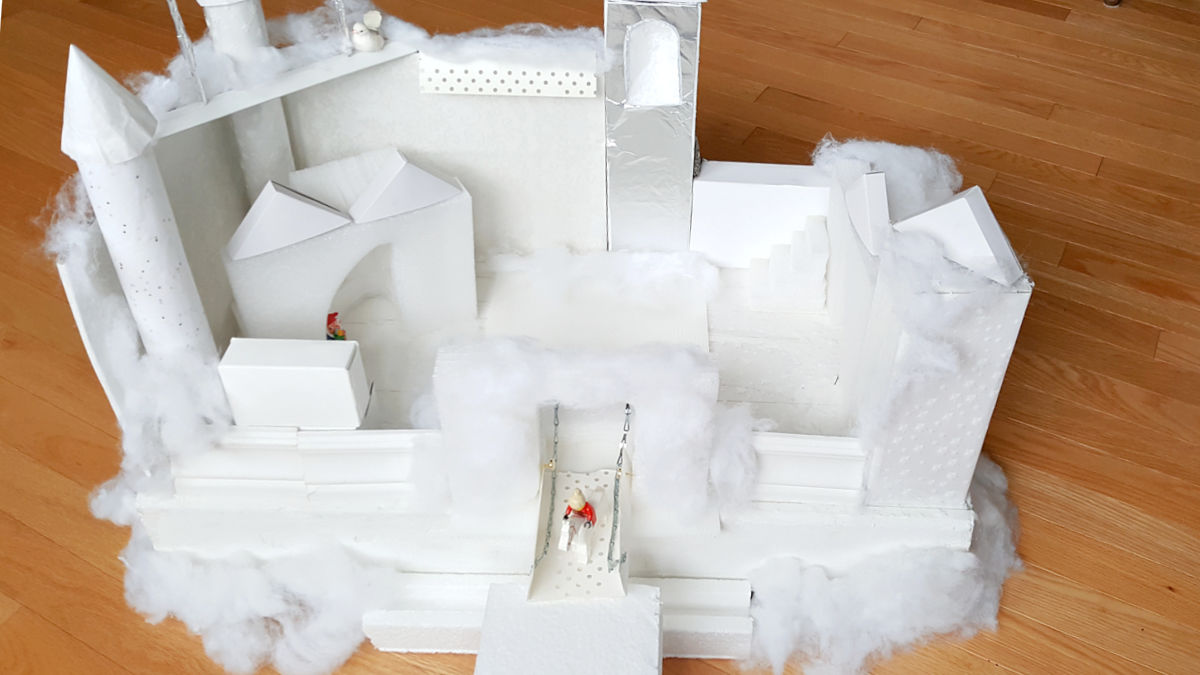
How to make a small world castle
Build your castle on a firm base – a large piece of solid foam packaging or sturdy cardboard.
Arrange and rearrange the pieces to create the effect you want. Here are a few ideas you’ll find in the tutorial.
- Make individual rooms.
- Build a staircase.
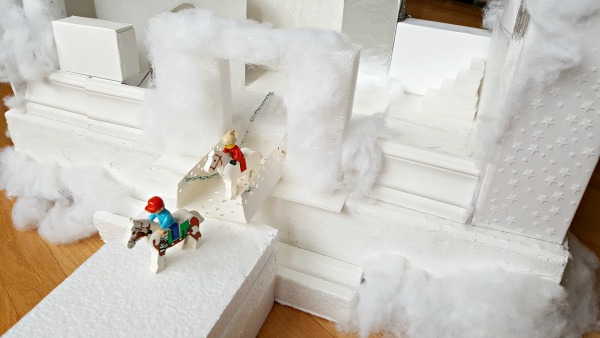
- Construct a working drawbridge.
Your project will be limited only by your imagination and the items you have on hand for building the castle.
1. Define the space.
Outline the perimeter of the castle with pieces of solid foam packaging, wood trim, and pieces of cardboard.
- Cover these pieces with shiny paper or foil.
Glue or tape these pieces in place to provide secure ‘walls’ for the castle.
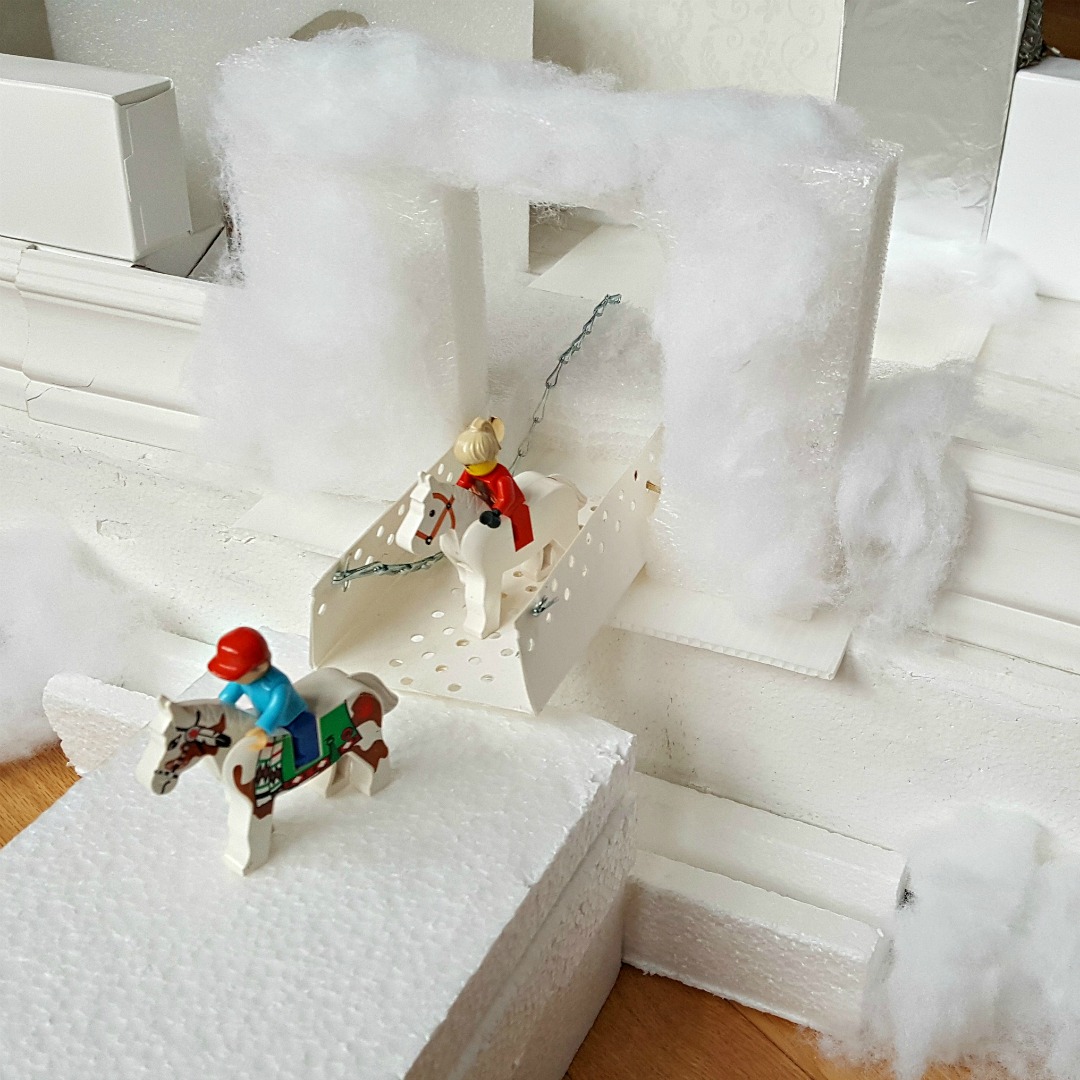
Continue placing other items inside the castle walls to define rooms, stairs, windows or doors.
- Doors: A piece of solid flexible foam packaging with a cutout resembles a door.
- Rooms: Small cardboard boxes can be used for individual rooms. Cut an opening in each box for a doorway if preferred.
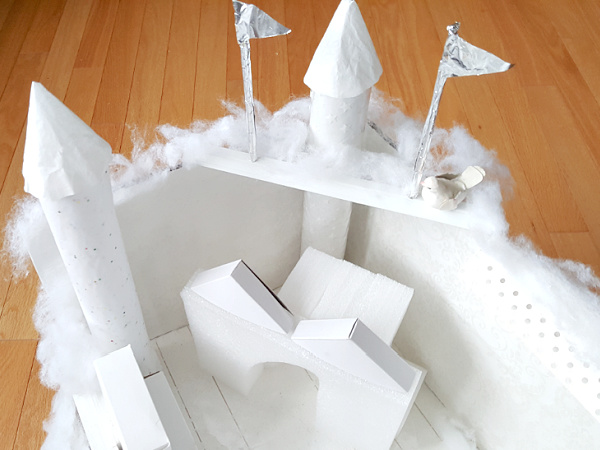
2. Make corner towers.
Cover cardboard tubes with shiny or glittery papers
Make a small paper cone shape to place on the top of each tower.
- We placed a piece of white plastic trim across the top of the corner wall. We added two winter flags made with aluminum foil. and a white bird figurine.
3. Add snow in and around the castle.
Place bits of fluffy throughout the castle as you build it.
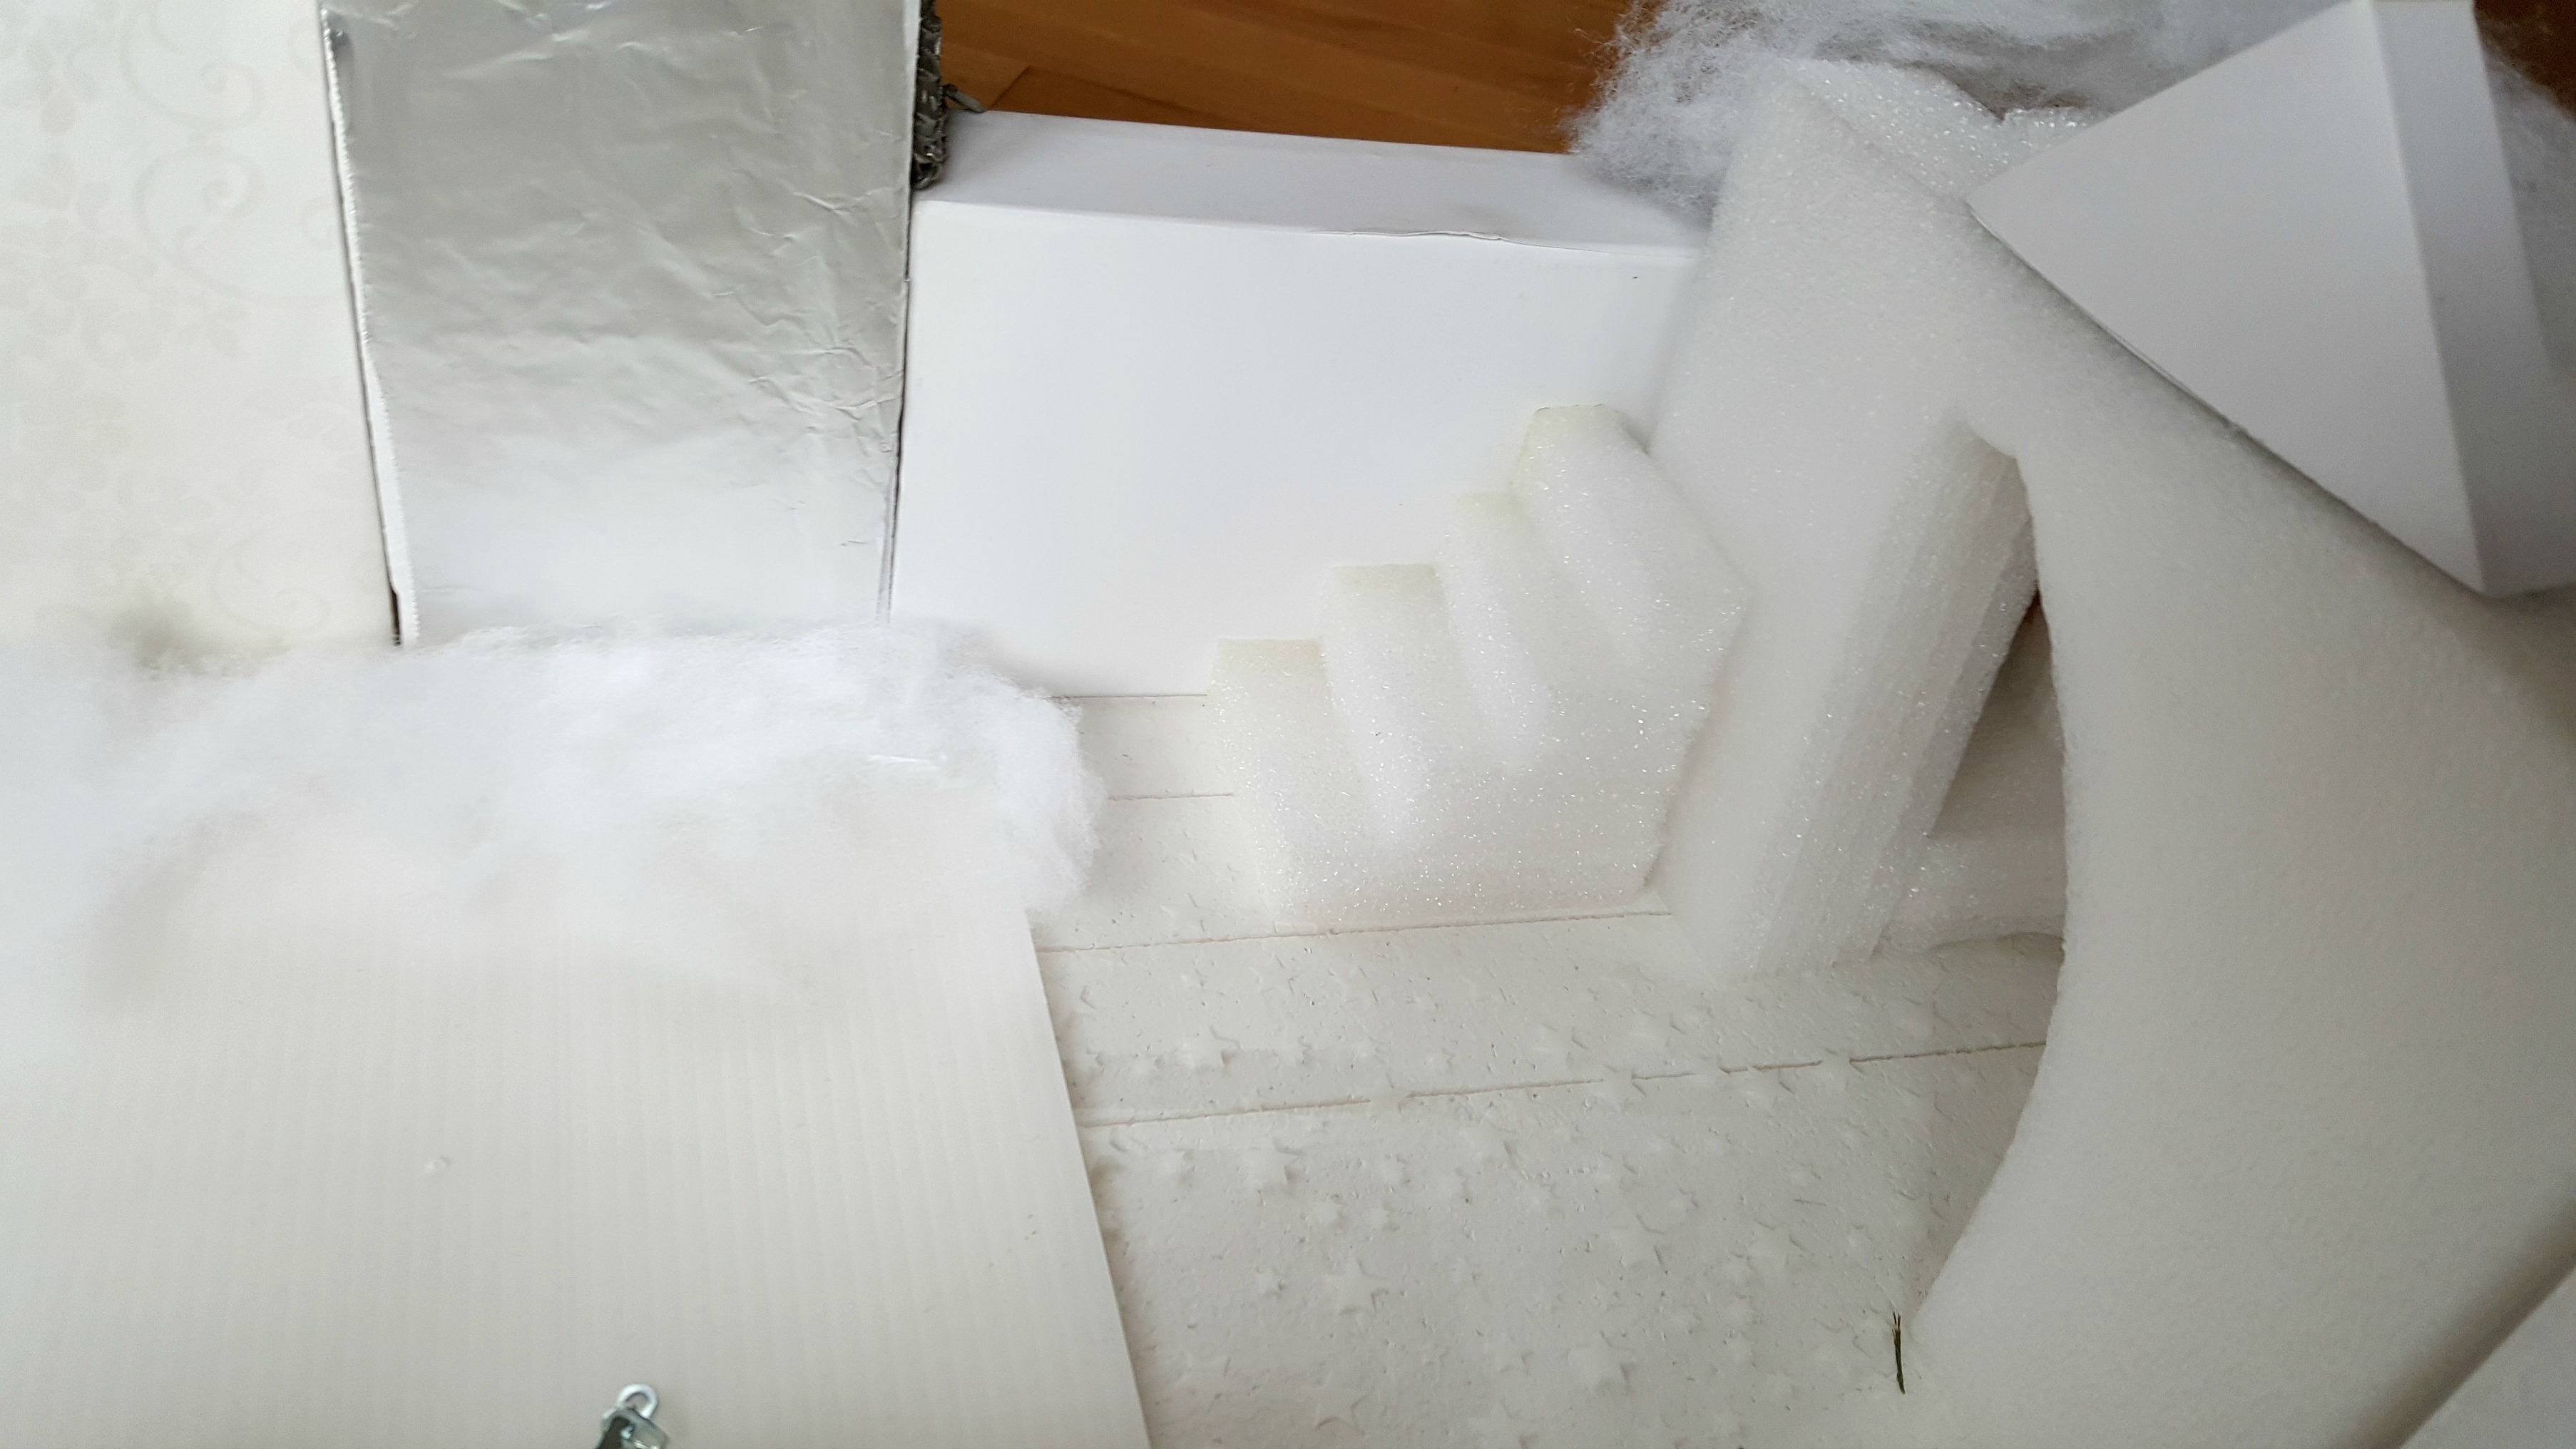
2. Build a staircase.
Outline the steps with a marker on a piece of solid flexible foam. Cut out the steps in one piece.
- Alternately, cut several pieces of foam separately, in different sizes. Then glue the pieces together to form the staircase.
3. Build a drawbridge.
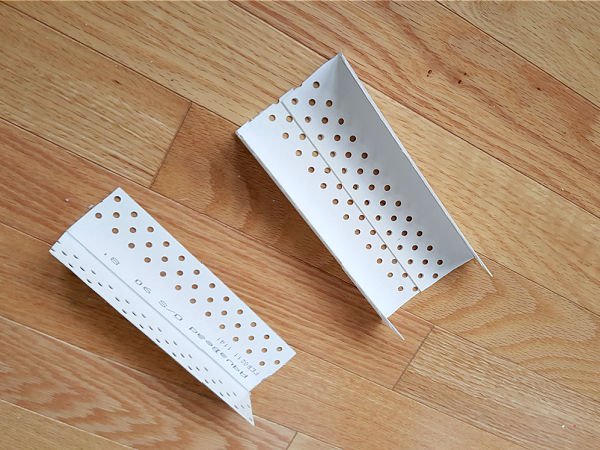
Cut two pieces of corner bead (one shown on the left) to the required length, to fit the door opening you have determined for the castle.
Glue the two pieces together (as shown on the right) in the required width, to fit the door opening.
Set the completed drawbridge in the door opening, allowing the front portion of the bridge to extend beyond the castle door.
Poke paper fasteners through the side holes at the base of the drawbridge portion inside the door frame, and then through the sides of the door frame.
Attach a length of narrow chain through a hole on each side of the outer end of the drawbridge.
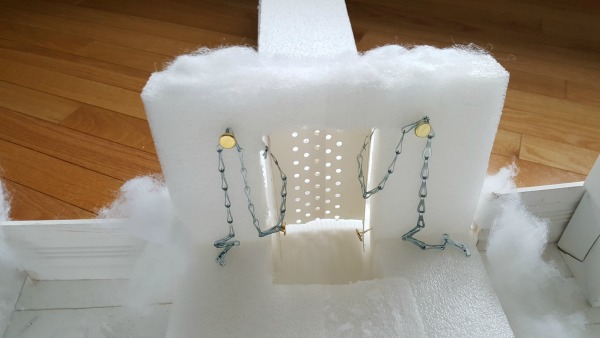
On the inside, insert a paper fastener near the top of each side of the door opening.
- This is where the chain will rest until it is needed to lower the drawbridge.
When you want to lower the drawbridge, release the chain and gently push the drawbridge down.
Continue decorating your castle and adding props until you get it just right!
A winter castle is magical and inviting provides lots of hands-on learning!
Kids will love raising and lowering the drawbridge, and creating stories for their characters.