Winter Village Small World Play
A small world town with a winter or Christmas theme is a fun creative play activity for kids. Combine fine motor skills and imagination to build a tiny town. It's fun to play with and display for friends and family to enjoy.
Privacy and Disclosure
for information on cookies and affiliates
Small world play is big time fun!
This idea for a little village or town is the perfect inspiration to get hands-on with small world play.
The whole family will enjoy this creative hands-on project. Grownups and kids can work together to create a little town with a snowy winter theme.
The fun is in the construction process not the result. Everyone's village or town will look different and unique.
Kids will use creative skills as well as engineering and fine motor skills to design and build a small world town. Fill the town with houses, vehicles, and people and animals.
The finished village is fun to use in pretend play, and it can even be displayed as a Christmas decoration.
Related: Small world farmyard
Christmas village small world play
A small world village can be as creative as your imagination allows.
This activity uses a basic cardboard cut-out for the houses in the village.
The houses will be the starting point for making the village, with details added as you imagine and create.
Supplies for small world village
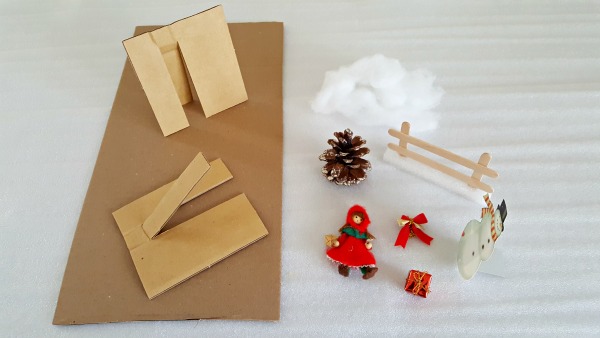
- cardboard
- cotton fluff
- pine cones
- decorations
- small parts - figurines, fences, animals
Instructions for a small world village
Make the houses
1. The cardboard template for the house measures 4.25 x 4.75 inches (10.5 cm x 12 cm).
Two slits are cut into the house to form a doorway .75 x 4 inches (2 x 10 cm), approximately 1.25 inches (3 cm) from the side of the house.
The top portion of the door remains attached to the house like a hinge.
Your house can take on any dimensions, and the doorway can be centered if preferred. Our pattern is actually part of the packaging from a product box, and it inspired the idea for this winter village!
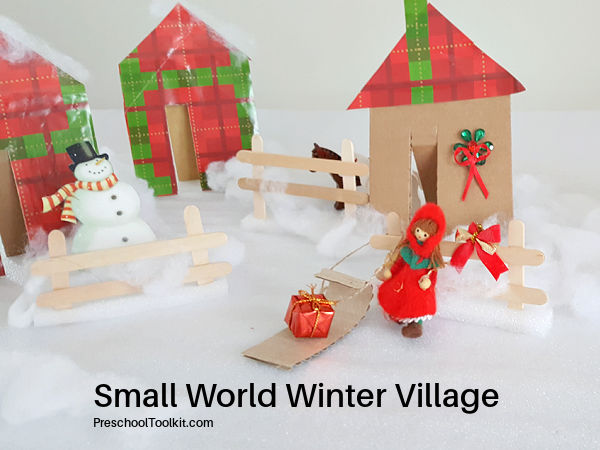
2. The snowman was cut from a Christmas card.
3. The fence is made with craft sticks glued together and inserted into a foam base.
4. Additional items such as the little girl in the red coat, the red bow and the gift box were removed from Christmas decorations.
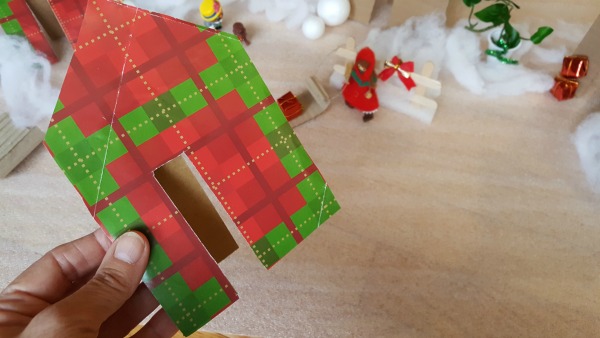
Cut each house from cardboard. Decorate each house.
Here are some ideas.
- Color with crayons or markers.
- Paint and let dry.
- Cover with decorative paper.
Bend the cut-away portion back to reveal the doorway. This also serves as a stand to support the uptight house.
Build the village
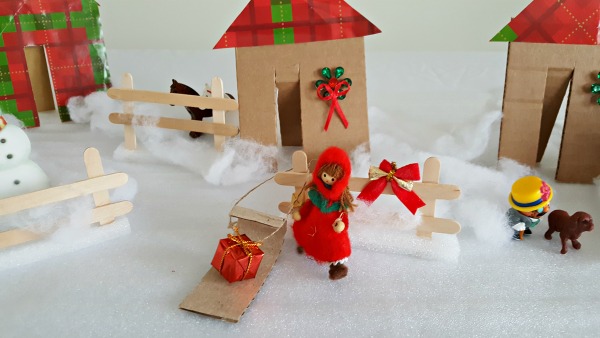
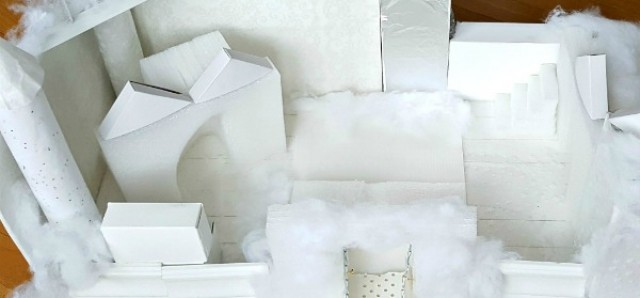
Build your town on a white table cloth or sheet. Your town can be set up on a table or on the floor.
Place your houses in the village, either randomly or along a 'street'.
Place wisps of cotton batting snow in yards and around fences. Outline paths between the houses with 'snow'. You can even make a snow hill for sledding!
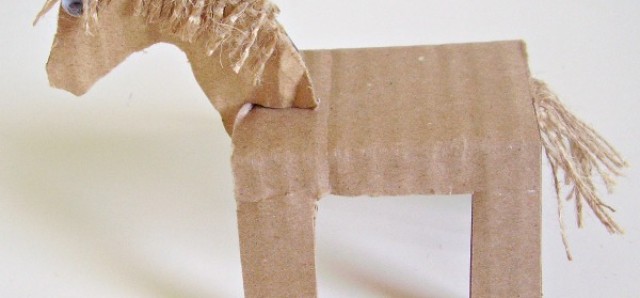
Add toy animals, people and other props.
Decorate the houses with tiny Christmas decorations.
Make a sled with a small rectangle of corrugated cardboard. Roll one end of the cardboard around your finger or a pencil to form the front of the sled.
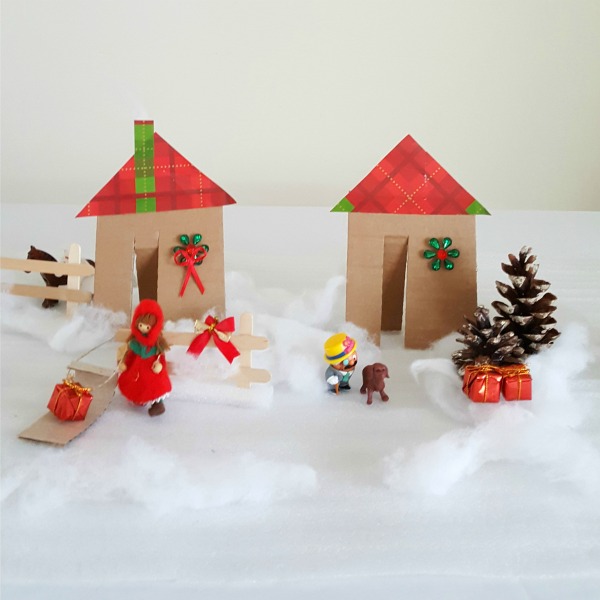
Add pine cone trees to the town. Sprinkle the trees with glitter or add tiny bits of cotton fluff snow.
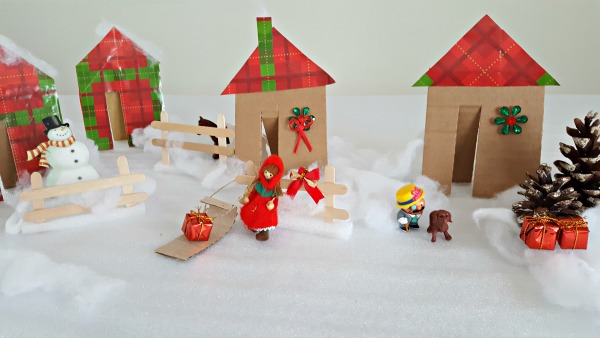
Set up your small world town on a table. It will be accessible for playing as well as viewing.
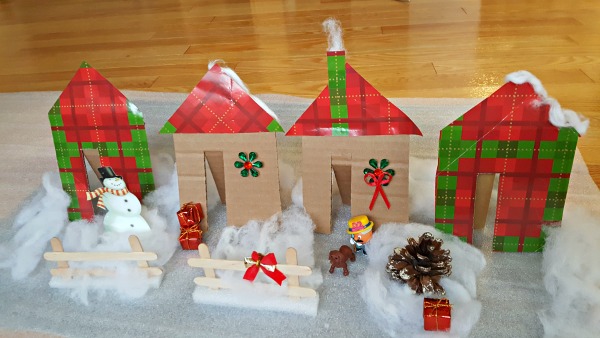
Set up the small world in an area on the floor.
- Place a piece of plywood or sturdy cardboard under a white covering to allow the town to be moved out of the way when necessary.
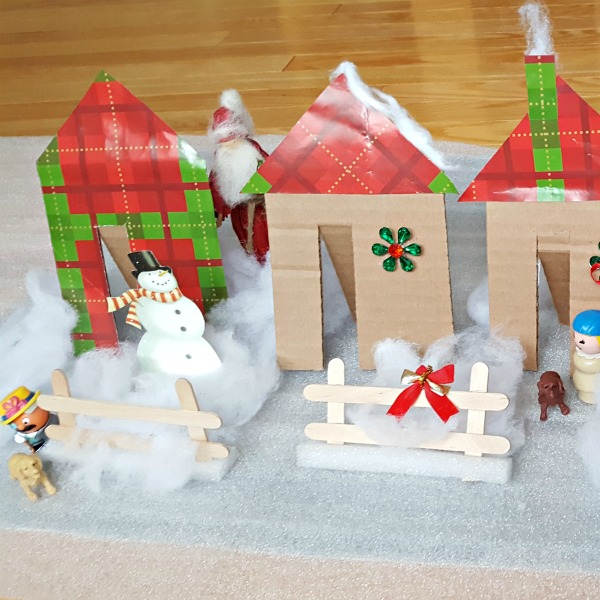
Classroom project
Set up a table in a corner of the room and cover with a white cloth.
Provide cardboard house templates for kids to decorate and place in the 'town'.
Add cotton fluff snow and various props to enhance the winter scene.
More winter fun!
(affiliate links)
Preschool Lesson Plans (all units)
