Easy Christmas Nativity Craft for Kids
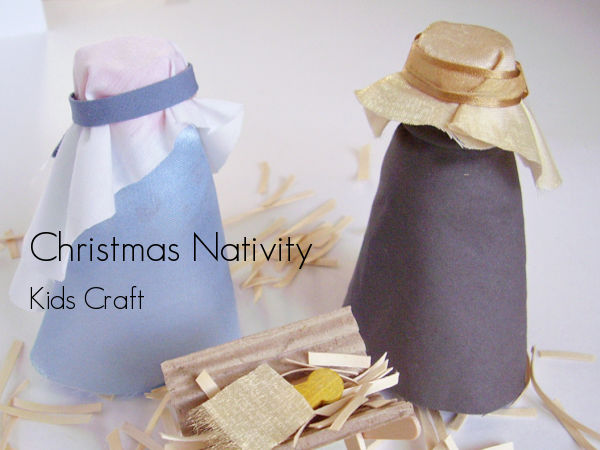
Make a Christmas nativity with the kids to celebrate this special holiday together. Use materials you have on hand to complete this craft project, then display the nativity scene where it can be enjoyed by all the family.
For information on cookies and affiliates see our
Privacy and Disclosure
Christmas is the season that highlights the story of the nativity. It's a story you can share with early learners in different ways: with picture books; with a Christmas pageant; with figures displayed in a nativity scene.
Making your own nativity helps kids explore the characters - Mary, Joseph and baby Jesus - and the environment - a stable - that are part of the story of this special event.
This nativity is easy to make with everyday craft materials and recyclables. This is a great activity to do with the whole family, making it a special part of Christmas celebrations.
Nativity kids craft
This craft is easy to set up with everyday materials. There's lots of room for creativity, using items you have on hand.
Exploring the different materials will boost kids creative and fine motor experiences as they learn the story of Christmas.
Related: Christmas Nativity Activities and Resources
Supplies for a nativity scene craft
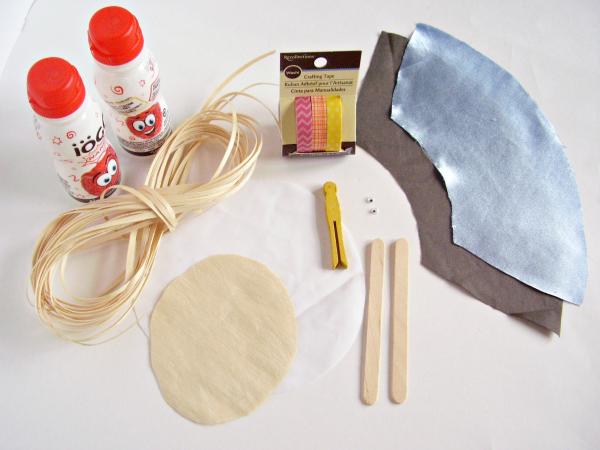
- Plastic yogurt bottles
- Fabric for garments and head covers
- Wood peg for child
- Craft eyes (optional)
- Narrow trim (washi tape or ribbon)
- Craft sticks
- Raffia or similar
- Corrugated cardboard
- Glue gun (optional)
- Clay or play dough
Cut out fabric for the garments as shown in the photo, light blue for Mary and grey for Joseph.
- Note that the neckline is smaller than the width of the skirt.
Cut out a fabric circle for each head covering, white for Mary and beige for Joseph.
- The size of the circle will depend on the style of the head covering. We made a larger head covering for Mary.
Instructions
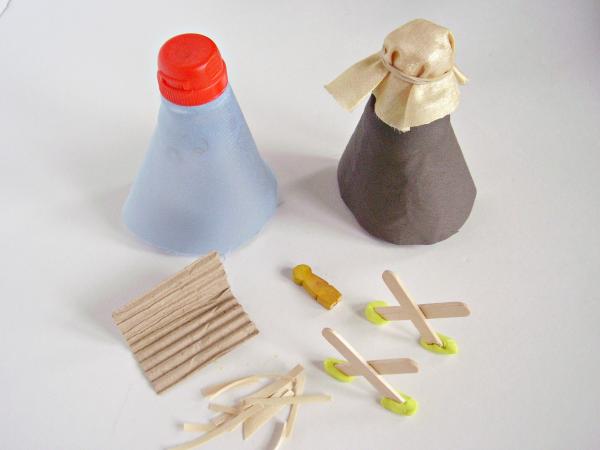
Mary and Joseph figures
1. Wrap the garment around the bottle and tape at the back to secure.
Alternately, spread glue around the neck of the bottle with a glue gun, then press the fabric into the glue.
2. Place the head cover on the top of the bottle and secure with an elastic.
Allow the head cover to hang down longer at the back.
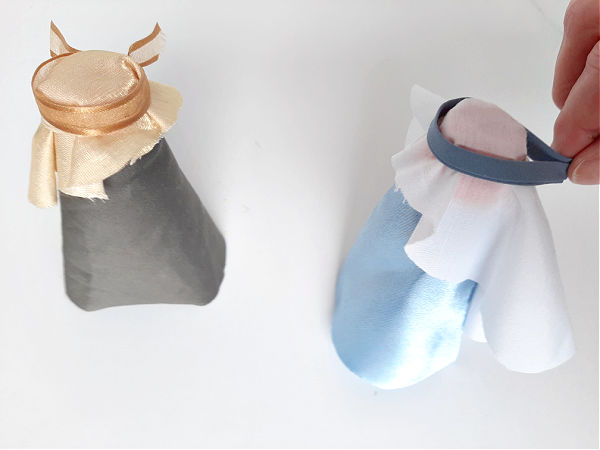
3. Cover the elastic around the head scarf with washi tape or narrow ribbon.
Manger
1. Cut craft sticks in half. Glue together making an X shape.
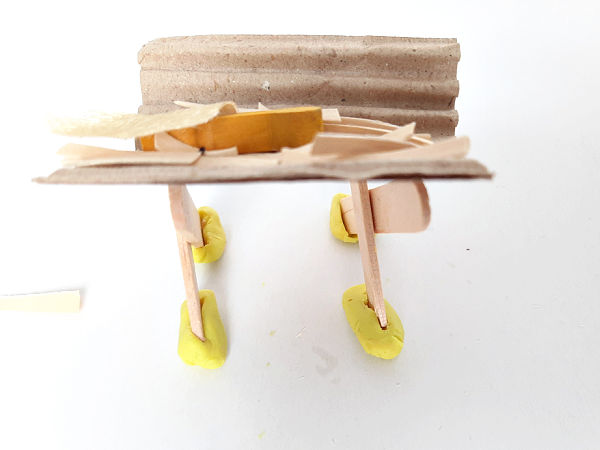
2. Support the legs in modeling clay to make the frame for the manger.
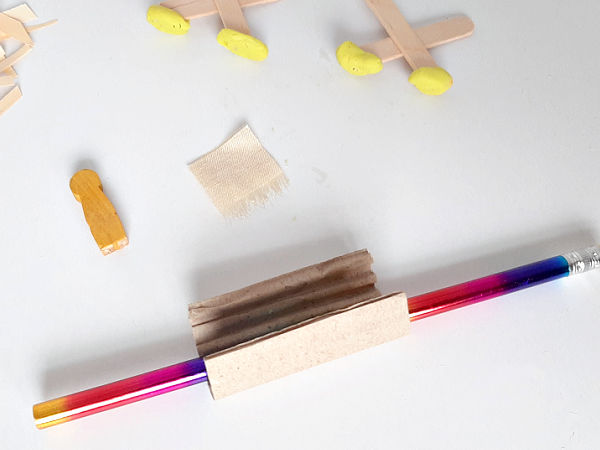
3. Cut a small rectangle from corrugated cardboard. Curl slightly by wrapping around a pencil or your finger.
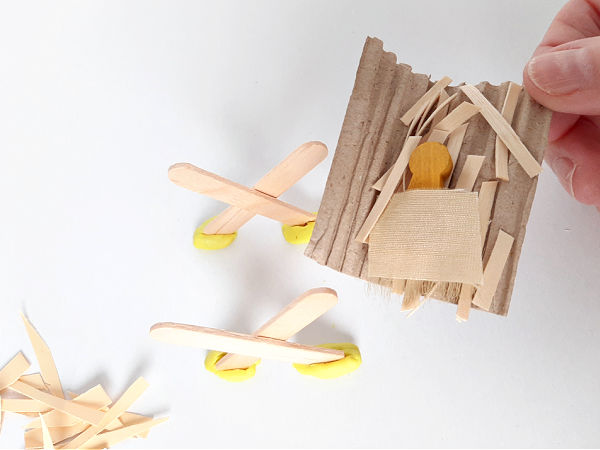
4. Place the cardboard manger onto the craft stick frame. Glue in place if preferred.
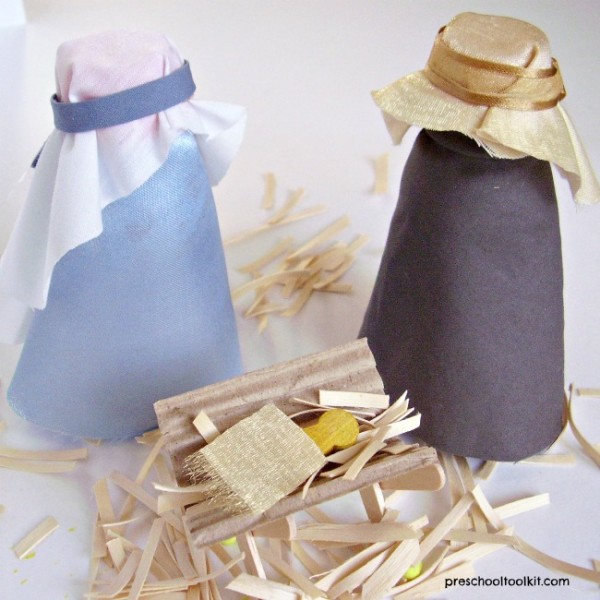
5. Cut raffia or plain paper into small pieces to make straw.
Add some straw to the manger and some to the surrounding area.
6. Cover the child with a blanket cut from a piece of fabric.
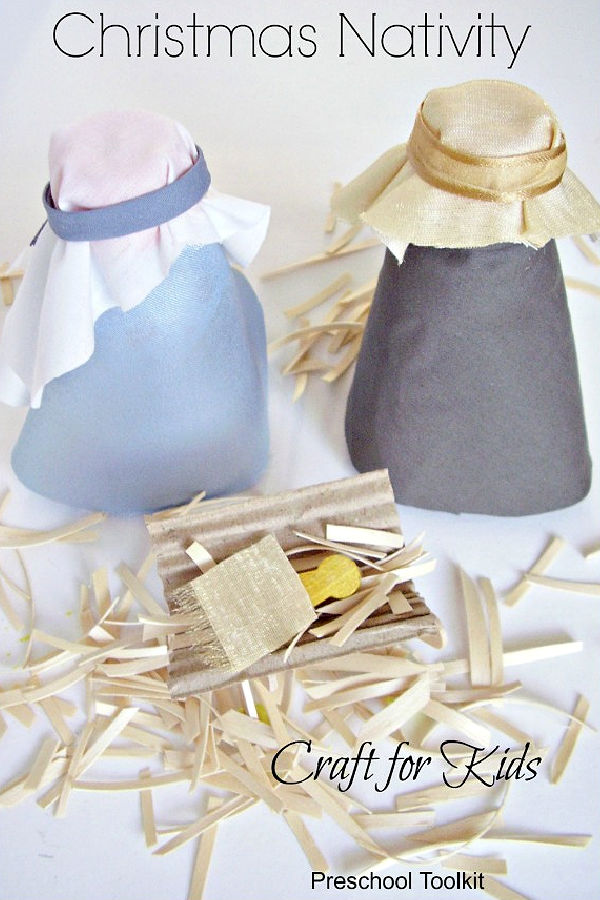
Tell the story of Christmas as you create, and engage with, your nativity scene.
Display your Christmas nativity to enjoy all season long!
