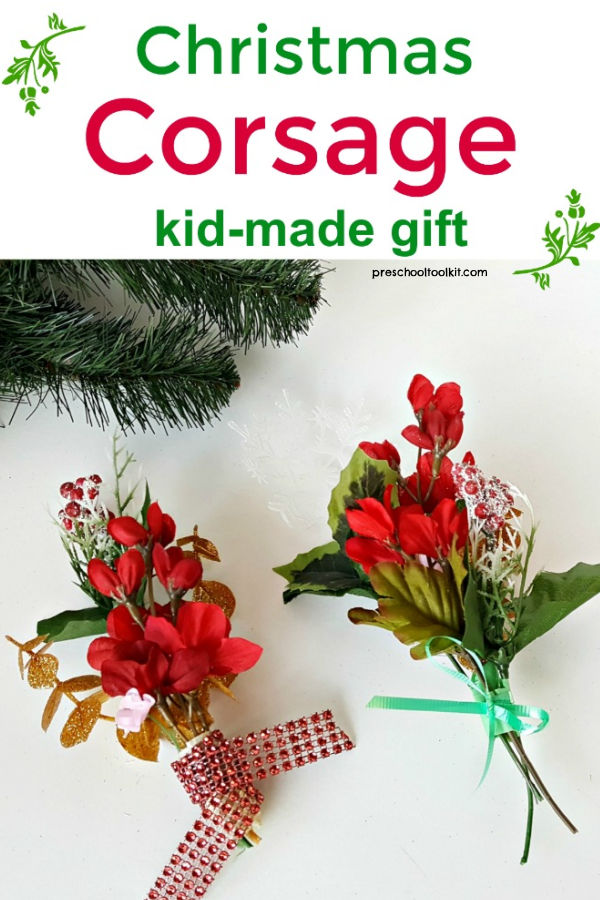
Christmas Corsage Kid-Made Gift
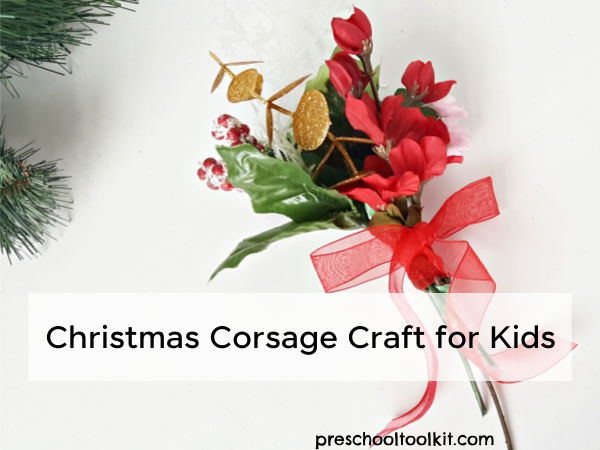
A Christmas corsage is a fun and easy craft for the holidays. Kids will be excited to make this beautiful gift for a friend or family member at Christmas time or any time of year.
Privacy and Disclosure
for information on cookies and affiliates
Kids love to receive gifts, but they also can't resist giving gifts to others, especially at Christmas time.
When they share something homemade, the gift-giving is even more special - and fun! - for kids.
These beautiful bouquets are simple for kids to make with artificial flowers. The hands-on activity promotes fine motor practice and supports kids creativity.
I'm excited to be joining other kid bloggers sharing crafts at the Kid-Made Christmas Series over at Teach Me Mommy .
Christmas corsage craft
A corsage activity is easy to provide with a few artificial flowers, some ribbon and masking tape. Kids can choose the colors of flowers and tape to create their own unique arrangements.
Family members will be proud to wear the pretty corsages to a festive gathering at Christmas time. You can extend the activity to make seasonal corsages for a birthday or anniversary celebration any time of year.
These flower arrangements can also be placed in small vases to decorate the home or classroom.
Supplies for a kid-made corsage
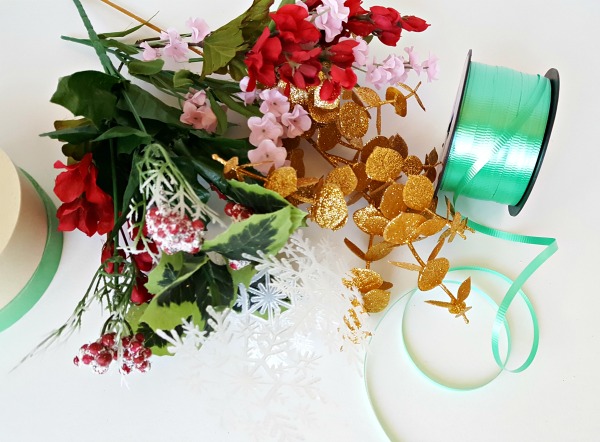
Artificial flowers are ideal for crafts because they're colorful and sturdy, and offer unlimited creative options.
The tape can be duct tape or masking tape, with a 1/2 inch to 1 inch (2.5 cm) width.
Instructions for a homemade corsage
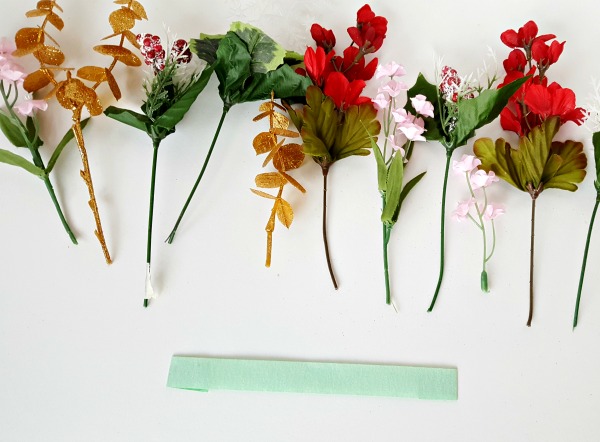
Step 1.
Separate each spray of artificial flowers into several individual stems. This will provide an assortment of smaller flowers that are easy for kids to handle, as well as lots of variety for creating the corsages.
Step 2.
Lay a strip of masking tape or duct tape sticky side up on the table. Roll the ends under to hold the tape in place on the table.
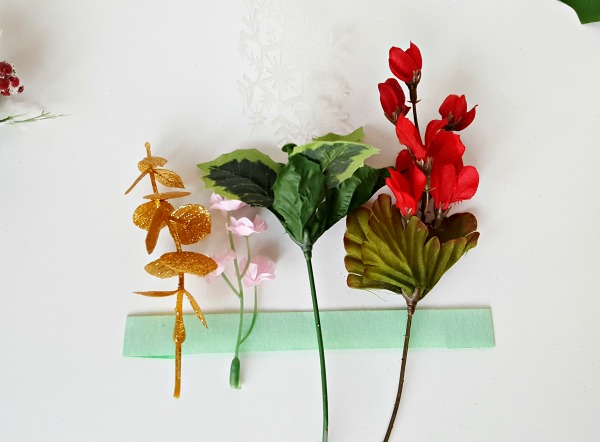
Step 3.
Place stems on the tape, adding and removing flowers until the arrangement is just right.
Make sure most of the stem part is laying over the tape.
Kids will exercise their creativity and fine motor skills as they choose and arrange flowers and leaves.
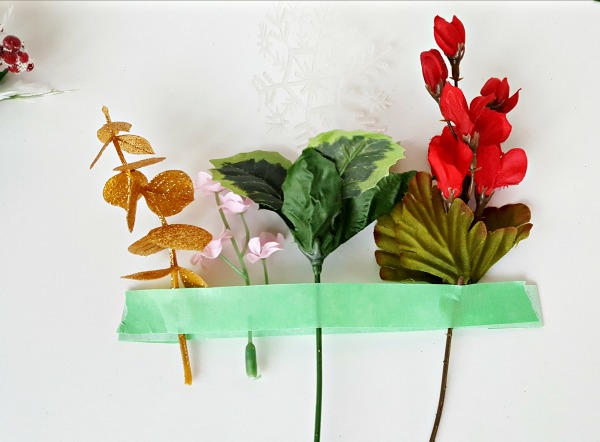
Step 4.
When the arrangement is complete, place another strip of tape sticky side down over the flower stems and press down firmly. This will sandwich the stems between the two pieces of tape.
If possible, leave a bit of sticky tape visible on the end.
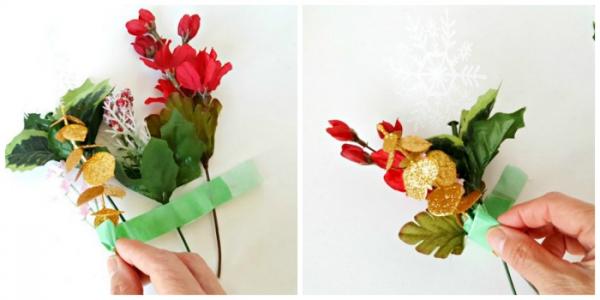
Step 4.
Starting at one end of the tape, roll up the strip of tape from one end to the other. You can help younger kids get started by rolling over a bit of the tape.
(Kids can use both hands to roll the tape.)
The result doesn't have to look perfect.
This step ensures that the flowers are gathered or bunched together in a small bouquet.
- If you have a bit of exposed tape at the end, this can be used to seal the tape once it's wrapped up around the stem. Otherwise, use a separate piece of tape to hold the bouquet in place.
Step 5.
Finish with a decorative ribbon wrapped around the tape.
You can glue a wide ribbon if preferred to cover the tape.
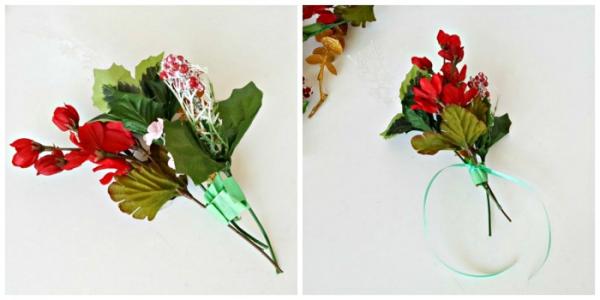
- The stems shown on the left have been rolled up in the tape and are bunched together loosely.
- The stems are then drawn in tighter with a ribbon as shown on the right.
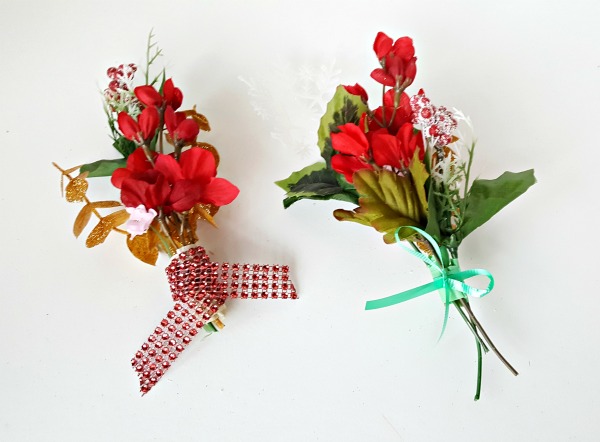
Your corsage is ready to wear!
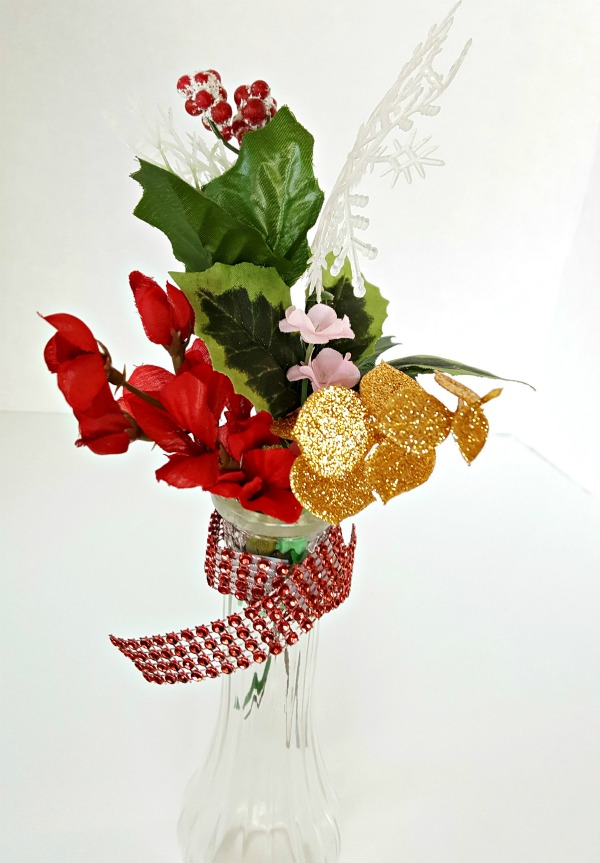
When the corsage is not being worn it can be displayed as a flower arrangement in a small vase.
Gift -giving is special for kids when they make something as pretty as this artificial flower corsage!
Kid-Made Christmas Gift Series

Quick view! 3 posts from the kid-made series
Santa Edible Treat in a Mason Jar from Kimspireddiy
String Christmas Tree Cards from School Time Snippets
Popsicle Stick Ornaments from Projects with Kids
