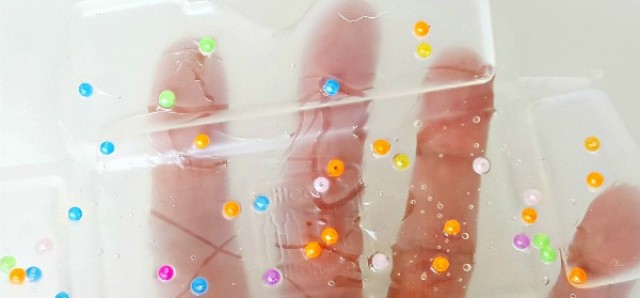
Color Viewer Preschool Science and Sensory Activity
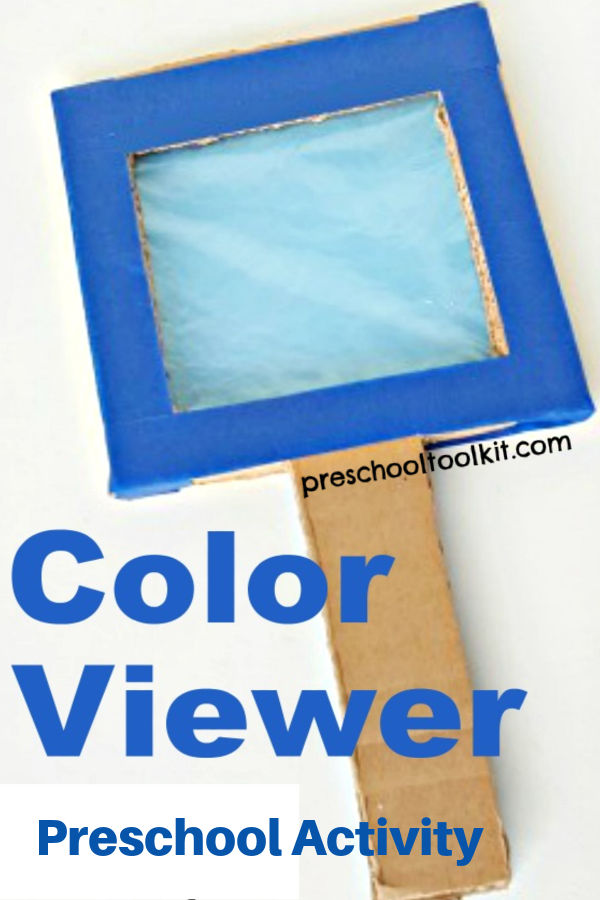
Kids can explore color changes with a homemade color wand. This fun preschool science and sensory activity promotes interaction with the colors around us as kids play and learn.
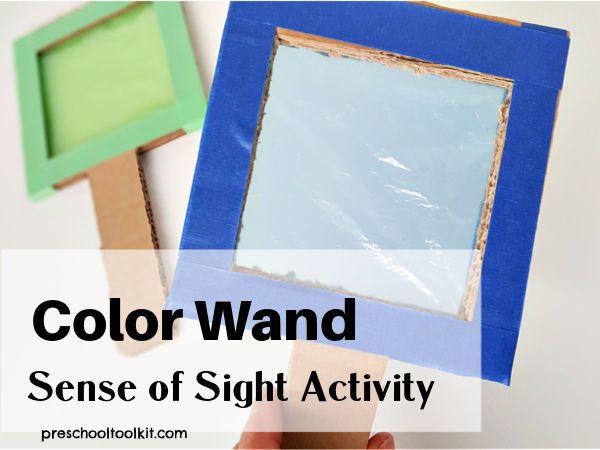
This post contains affiliate links. Privacy and Disclosure
What color is the sky? What color is the grass? Are these colors always the same?
Kids see colors in their environments every day: in the clothing they wear; in toys; in foods; and in nature. Little learners begin to identify and name objects according to color - green grass, blue sky, red socks!
Kids can observe changes in colors with a color wand craft. This little homemade tool prompts kids to view their surroundings in different ways.
Preschoolers use their sense of sight to recognize familiar things, as well as to make new discoveries.
- Dark clouds appear in the sky before it rains.
- Grass turns brown without water.
Make a color wand accessible for everyday play to spark conversations about colors and the world around us.
Color viewer preschool activity
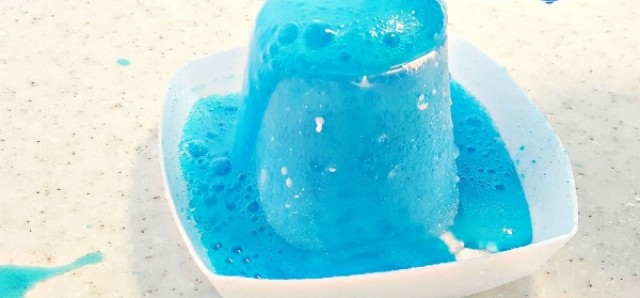
Kids experience color changes in their play activities: a new paint color is created when two or more craft paints are mixed together; water changes color when earth materials are mixed in a jar.
The color viewers - or wands - you make in this tutorial engage the sense of sight in a color changing activity, promoting sensory skills and color identification.
Use the color wand indoors and outdoors to view your surroundings in different ways.
Supplies for color wand
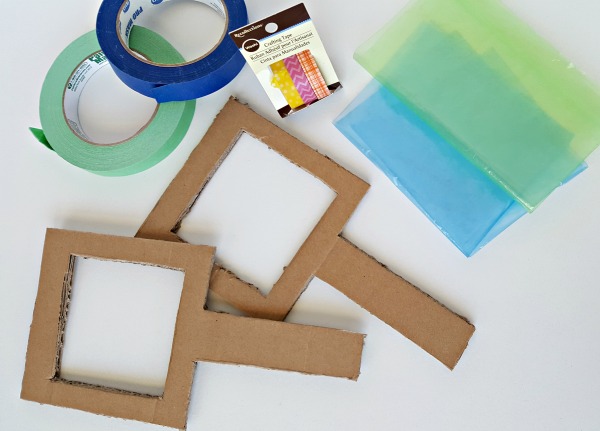
- sturdy cardboard
- plastic sheeting or sandwich baggies
- masking tape
- glue
Instructions for color viewer
Note: Measurements are approximate and can easily be adjusted according to preference or available materials.
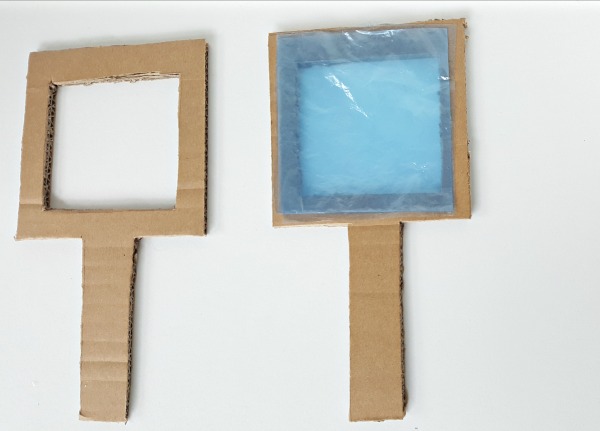
1. Cut two equal size pieces from cardboard: 5 inches (12 cm) wide x 8 inches (20 cm) long including handles.
2. Cut a window out of each piece of cardboard. Leave a 1 inch (2.5 cm) border around the viewer opening and a 3 inch (7.5 cm) long handle.
3. Rub a glue stick over the cardboard border of the opening on one piece of cardboard.
4. Place colored plastic over the opening.
- The green in this tutorial is sandwich baggies, and the blue is a transparent plastic drop cloth.
- The color you see through a viewer will vary depending on how many layers of plastic you use in the window. We used 2-3 layers of each color.
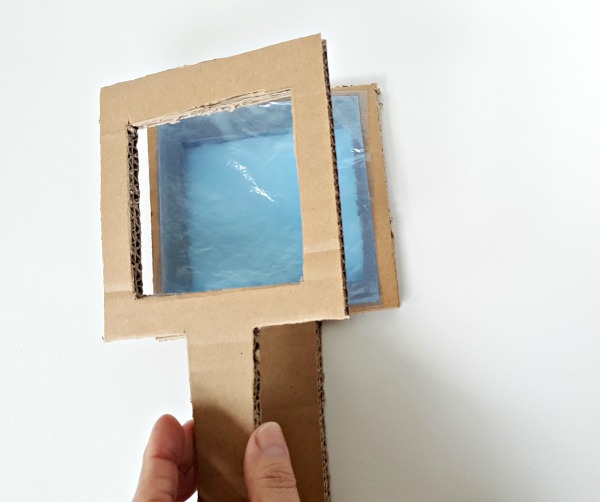
5. Rub glue stick over the edges of the plastic and any exposed border. Place the second viewer on top of the plastic.
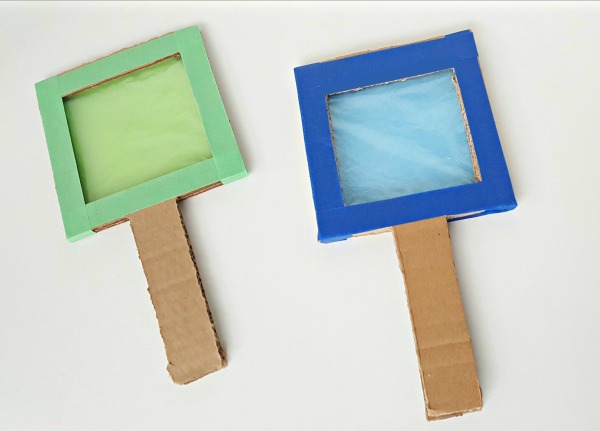
6. Apply tape around the edges to decorate. This also strengthens the viewer.
You might think of other ways to decorate - with crayons, markers, washi tape, or even stickers. This will engage creative skills along with fine motor and sensory skills.
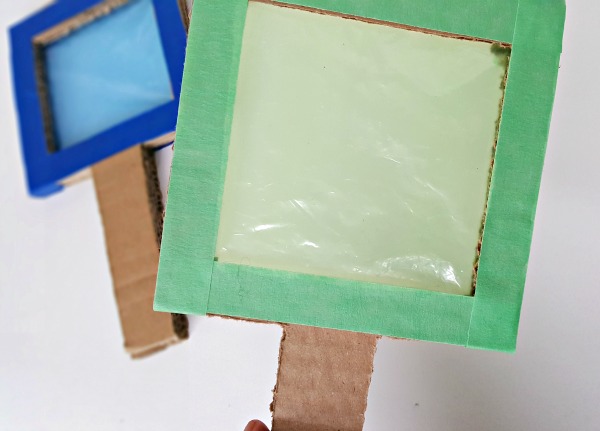
Easy to make and so much fun to use! Look through a viewer to see how the landscape color changes.
Kids can name and compare colors with and without the color viewer.
What happens if you put one viewer over the other?
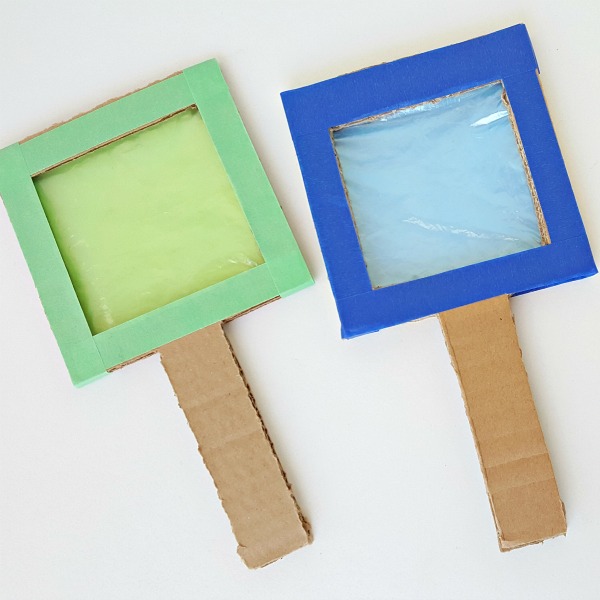
Easy science activity with a color wand
This activity provides an opportunity for scientific exploration.
- Look through the color wand with different intensities of light in the room.
- Hold the viewer close to an object and then far away to observe changes.
What color is the sky? What color is the grass?
Find the answers to these and other questions as you explore your surroundings with your new homemade color wand.
