Kids Science in a Jar Mixing Earth Materials
Mixing earth materials in a jar combines outdoor play with scientific discovery. Dig for clues, and shake up some answers, as you conduct some simple science in a jar.
This post contains affiliate links. See our disclosure.
What's in your kids pockets? When kids get outside and explore nature they are likely to stuff their pockets with pine cones, creepy crawlies, and stones.
Then they'll want to bring everything home! They'll probably want to examine things and ask a lot of questions too.
Give kids the opportunity to build skills with lots of outdoor play in nature. Messy, outdoor activities will sharpen kids senses and build awareness of the environment.
This mixing raw materials activity is easy to do with kids, promoting exploration and discovery - with just a little dirt and mess on the side.
Related: Pine Cone Trail Outdoor Play
Mixing earth materials science activity
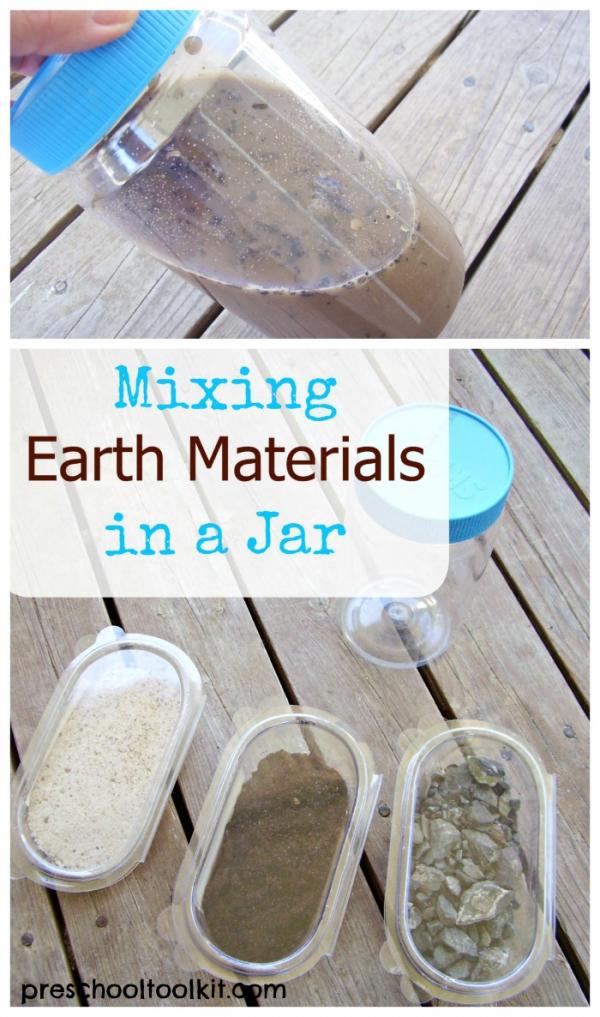
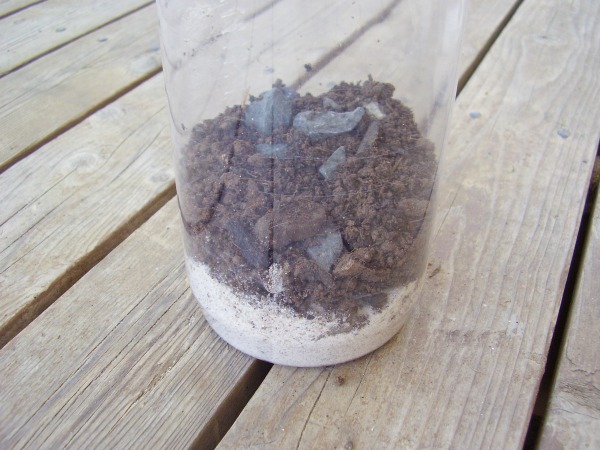
For this activity, collect SAND, SOIL, STONES or other available materials in separate containers.
- The sand in this activity was taken from the indoor sandbox, the soil from a deck planter.
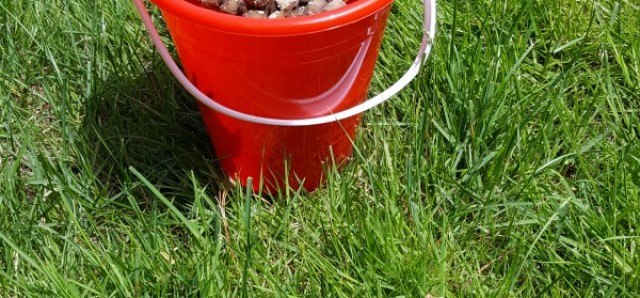
- The stones came from our gravel driveway, so there is a mixture of sizes small stones.
Conduct the experiment
Add the materials to the bottle in layers. I used a plastic peanut butter jar with a lid that seals tightly.
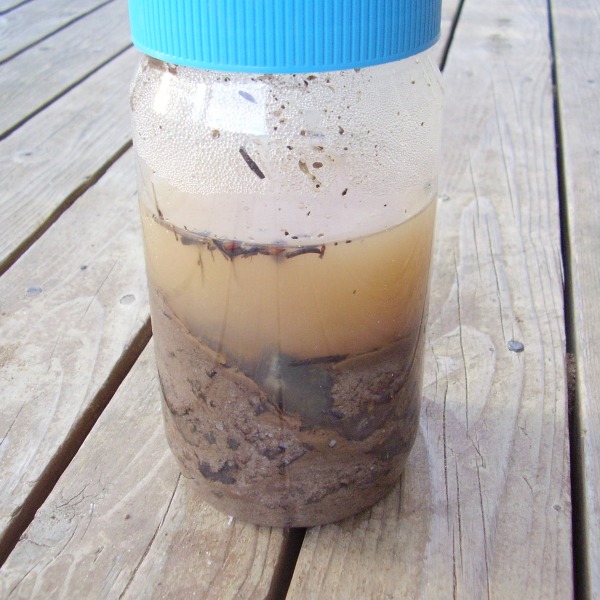
Add water to cover the materials well. SHAKE well to mix the contents!
Make observations
1. Slowly turn the jar to observe the different materials.
Can you see any of the materials through the cloudy water?
2. Let the jar rest for a few minutes. Observe how the materials separate as they settle.
Can you see some materials that you didn't notice before, once everything has settled?
Is it easier to see the individual materials once the water becomes clear?
The longer the jar sits, the clearer the water becomes.
- Trial and error: I repeated the experiment using less sand. This allowed more rocks to sit on top of the sand, making them more visible. Many stones were still embedded in the sand at the bottom of the jar.
4.Slowly empty the jar.
The sand and other embedded materials will flow out with the water. Some wet sand sticks to the bottom.
Add more water, shake the jar, and pour. Repeat until all the sand and rocks are removed.
Related: Science in a Jar roundup from Homeschool Preschool
Draw conclusions
Materials settle in layers.
Materials have different weights.
Some materials float.
Sand sticks to the bottom of the jar.
Water becomes clearer as the jar stands without movement.
What else have you discovered?
Learning through play
1. Make predictions about what will happen:
a) the dry materials are mixed together
b) the water is added
c) the mixture settles.
2. How much time does it take for the water to become reasonably clear?
3. Why did the sand stick to the bottom of the jar when the water was poured out?
4. Which weighs more, wet sand or dry sand?
You don't need to have all the answers to conduct hands-on science activities with your preschooler. Kids will learn as they play, mixing and measuring, building, creating, observing.
Be prepared to get your hands dirty. The joy of digging into the properties of earth materials with kids should make up for any mess or inconvenience!
Have some extra jars on hand like these to store treasures kids will want to save. Or they can just fill their pockets!
Science activities promote wonder, exploration, and discovery.
