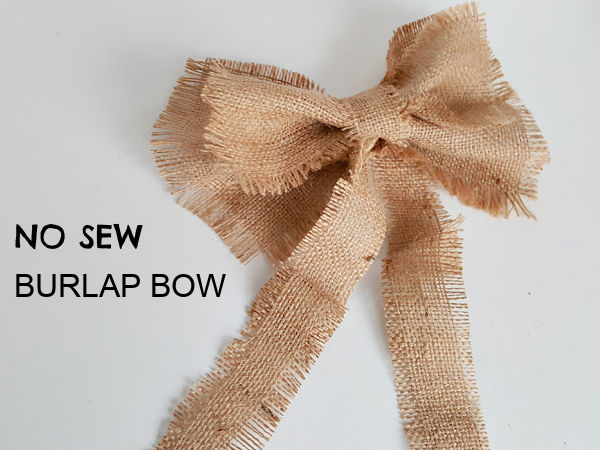
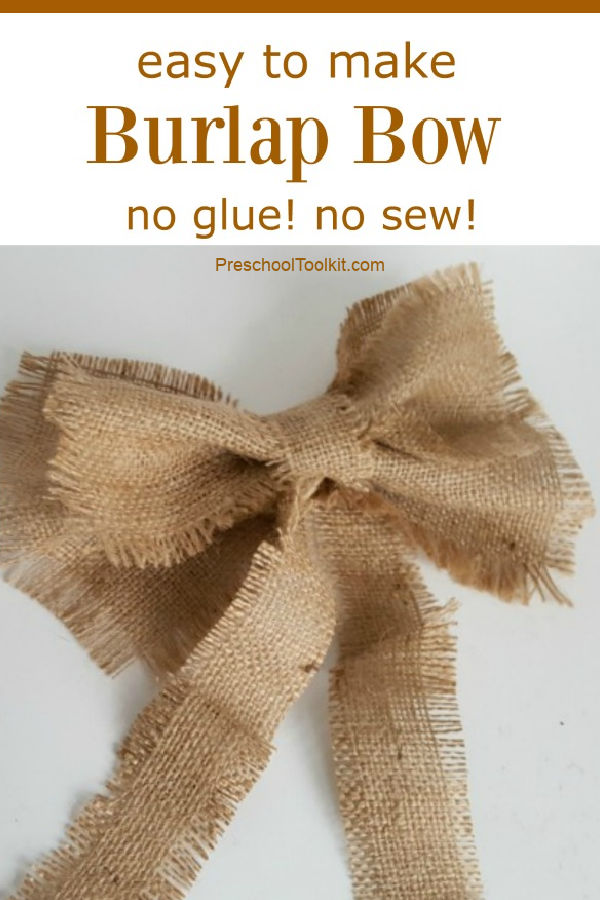
Make this easy homemade burlap bow to decorate your home or classroom. This is a no glue, no sew project that instantly adds rustic holiday flair to wreaths and planters.
Privacy Policy for information on use of cookies and affiliate links
Wrap up the holiday decor with this easy homemade burlap bow. You can make it with four simple steps to add the finishing touch to your holiday decorations.
This could be the easiest burlap bow you’ll ever make. It requires just two or three pieces of burlap depending on the style of bow you choose to make. And no gluing or sewing are needed to complete the project.
Natural materials like pine cones and burlap add a rustic touch to holiday decorations that is warm and inviting.
Related: Pine Cones and Burlap Decor
The burlap bow is easy to make in any size you need to complement a wreath or mantle. Adjust the sizes in the tutorial to suit your preference. You can even try substituting other fabrics or materials to make a bow of your own design!
Homemade burlap bow
Instructions for a burlap bow
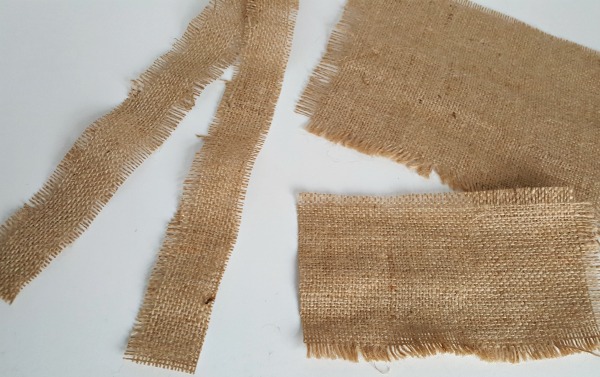
You will need three pieces of burlap for the bow. Cut one piece in each of the following three sizes:
- 7″ x 10″ (18 cm x 25 cm)
- 5″ x 8″ (13 cm x 20 cm)
- 2″ x 30″ (5 cm x 76 cm)
Adjust the size of each piece to make a larger or smaller bow depending on your preference or where the bow will be used.
The ends of the long narrow piece (2x30O will be the “tails” that hang down from the center of the bow. You can make the bow without the tails if preferred. Simply trim the excess length after the bow is made.
My measurements include the frayed edges.
- I like the look created by burlap with the frayed edges but you can also have a no-fray edge on the burlap. (affiliate links)
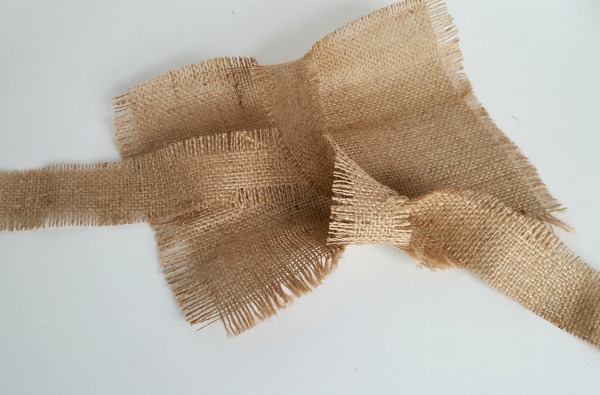
Step 1.
Lay the larger rectangular piece of burlap over the long narrow piece (tail).
Step 2.
Begin to tie the long narrow piece, gradually drawing in the rectangle piece.
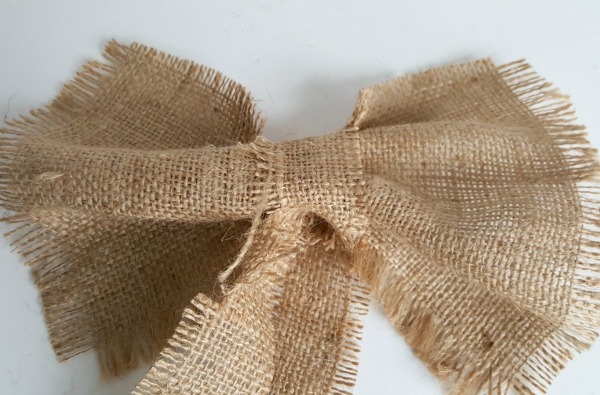
Step 3.
Turn the bow over. Tighten or loosen the long narrow piece to adjust the fullness of the bow.
You can use the bow as is or continue to the next step.
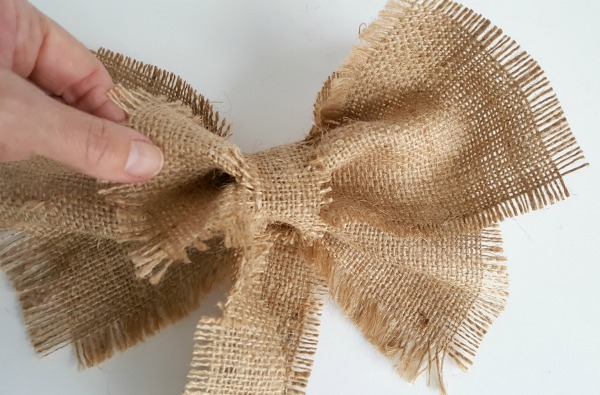
Step 4.
Pull the smaller rectangular piece through the tab at the front of the bow created by the long narrow piece.
The small rectangle will become scrunched as it’s pulled through. Center this piece over the underlying piece of burlap.
Shape the top and bottom pieces of burlap to the desired effect.
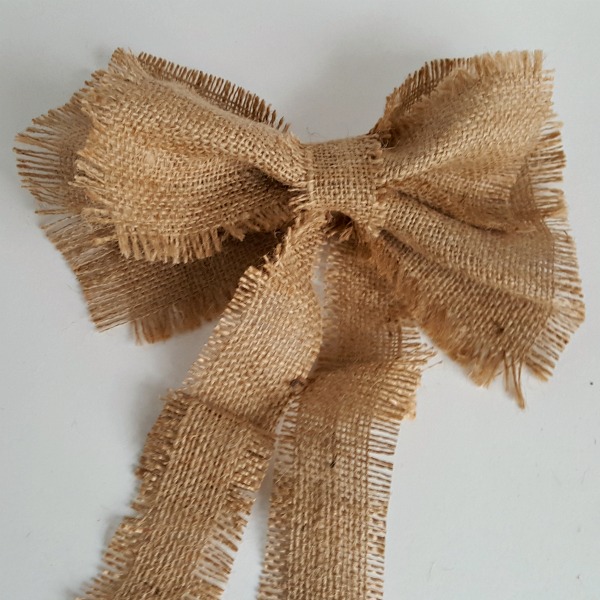
So easy! So pretty!
Decorate with your homemade burlap bow.
Trim a wreath or even an outdoor planter with a burlap bow for your best holiday decorations this year.
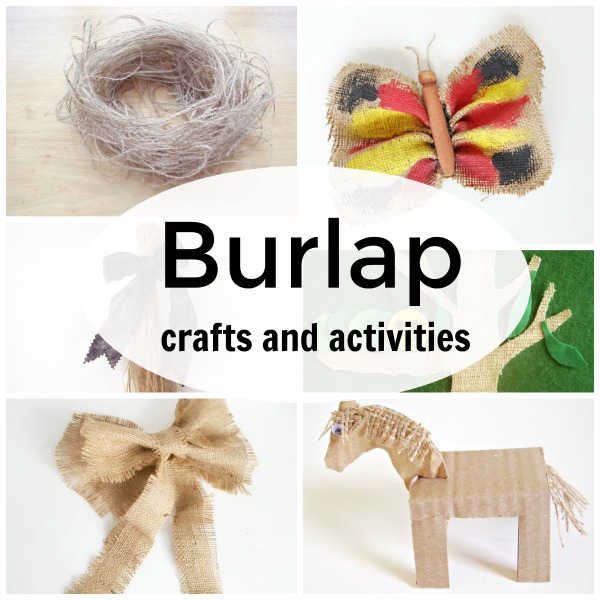
Burlap Crafts and Activities