
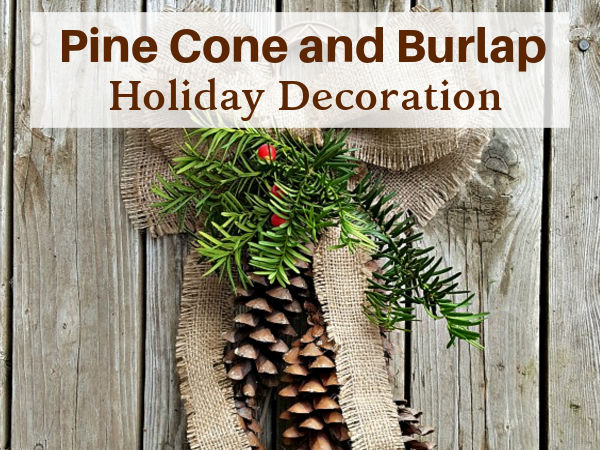
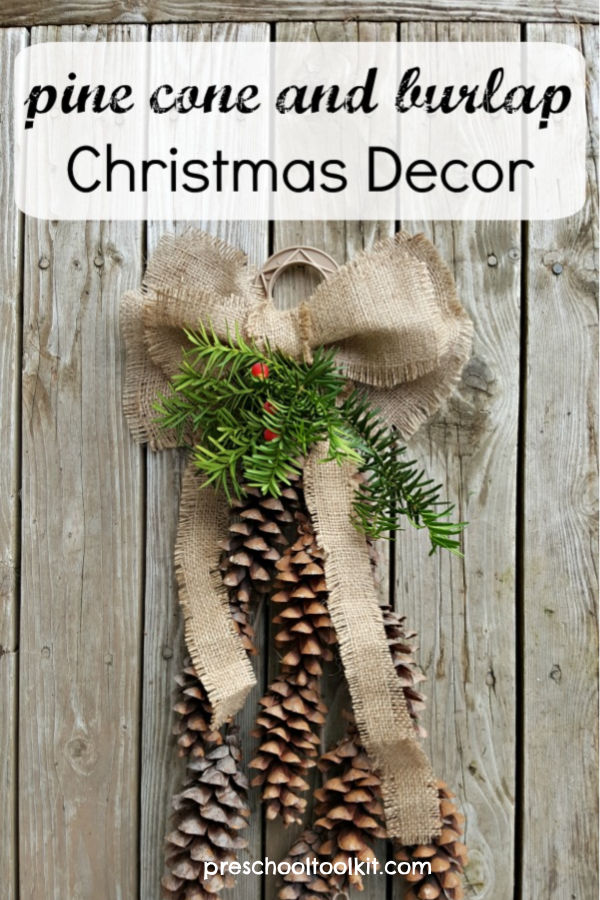
This country-style Christmas decoration is simple to make with pine cones and burlap. Add a touch of rustic flair to your Christmas decor indoors or outdoors with this stylish hanging decoration.
Privacy Policy for information on use of cookies and affiliate links
Decorating with pine cones is not only easy, it’s a lot of fun! The whole family can take part in collecting pine cones and designing decorations for the holidays.
There are so many ways to use these wonderful natural cones, especially for Christmas decorating. Each idea – and result – will be unique.
- We added pine cones to a table centerpiece and mixed pine cones in a large plastic bin with poinsettias for kids sensory play.
Related: Pine Cone Trail Activity
We are fortunate to have a steady supply of pine cones available from the huge pine tree in our yard. It’s recommended to clean pinecones before using them in kids activities.
If you don’t have supplies available in nature, you can easily complete this project with options we provide in the tutorial.
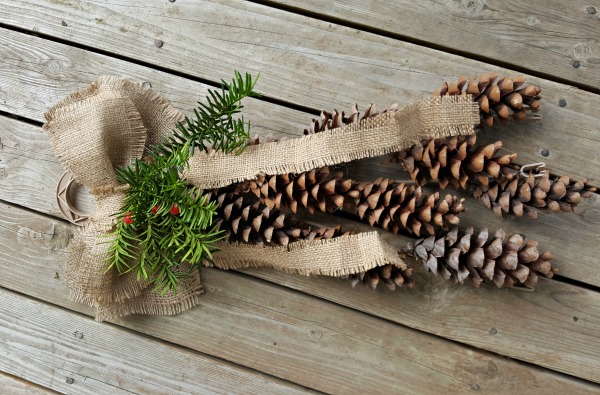
DIY pine cone and burlap decor
Crafts made with natural materials are perfect for indoor or outdoor decorating.
If you don’t have natural materials available, you can easily substitute artificial greenery and other decorations to make a beautiful and unique decoration.
Supplies for pine cone decoration
- pine cones
- hanging planter
- greenery
- glue gun
- burlap
Pine cones are durable, easy to work with, and come in a variety of sizes and colors. They add color, texture, and even a different scent to your holiday decor.
They are available to purchase online or in craft stores, natural or artificial.
Related: How to clean pine cones for crafts
Burlap can be purchased online, and is also available in craft or sewing stores. It has natural appeal and can be easily shaped and glued.
If you don’t have burlap, substitute ribbon or fabric to make a bow. You can also recycle a bow or other accessory from another decoration.
Follow the easy steps below to make your unique pine cone and burlap hanging decoration.
Instructions for DIY pine cone decor
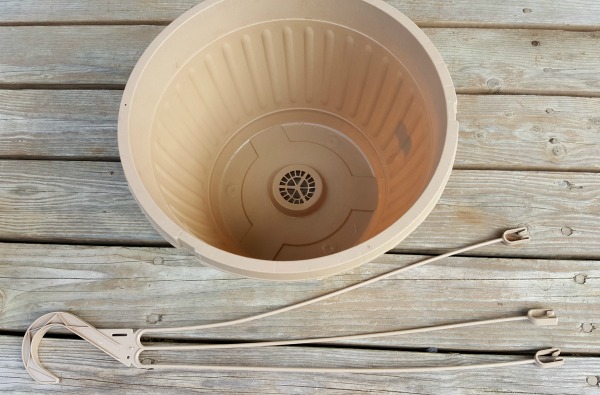
Remove the hanger from a hanging planter.
- This craft makes great use of the hanger that comes on a planter if you don’t intend to display the plant on a hook. I often remove the hanger and set the pot into a larger deck planter. I add gravel to the deck planter to stabilize it, then set the flowering plant on top.

1. Glue the pine cones to the hanger.
Apply a bead of glue along each narrow strip of plastic with a glue gun.
Press and hold each pine cone in place for a few seconds to secure to the hanger.
This is the back view of the hanger, after a few pine cones were glued in place.
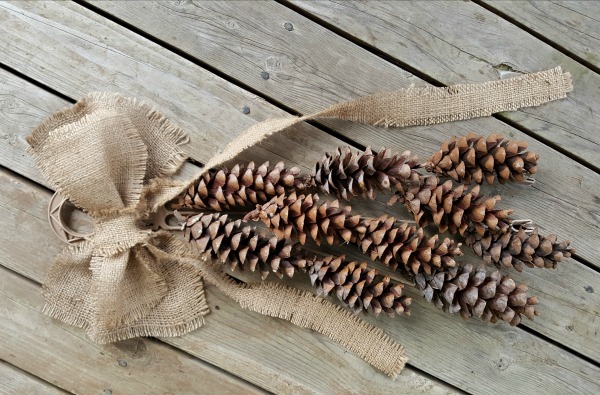
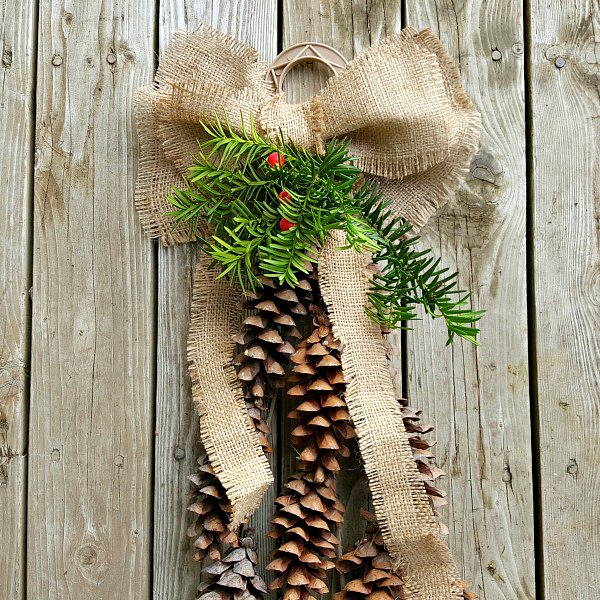
2. Glue a burlap bow to the hanger.
Attach a burlap bow near the top of the hanger with the glue gun.
Follow this simple tutorial to make a burlap bow.
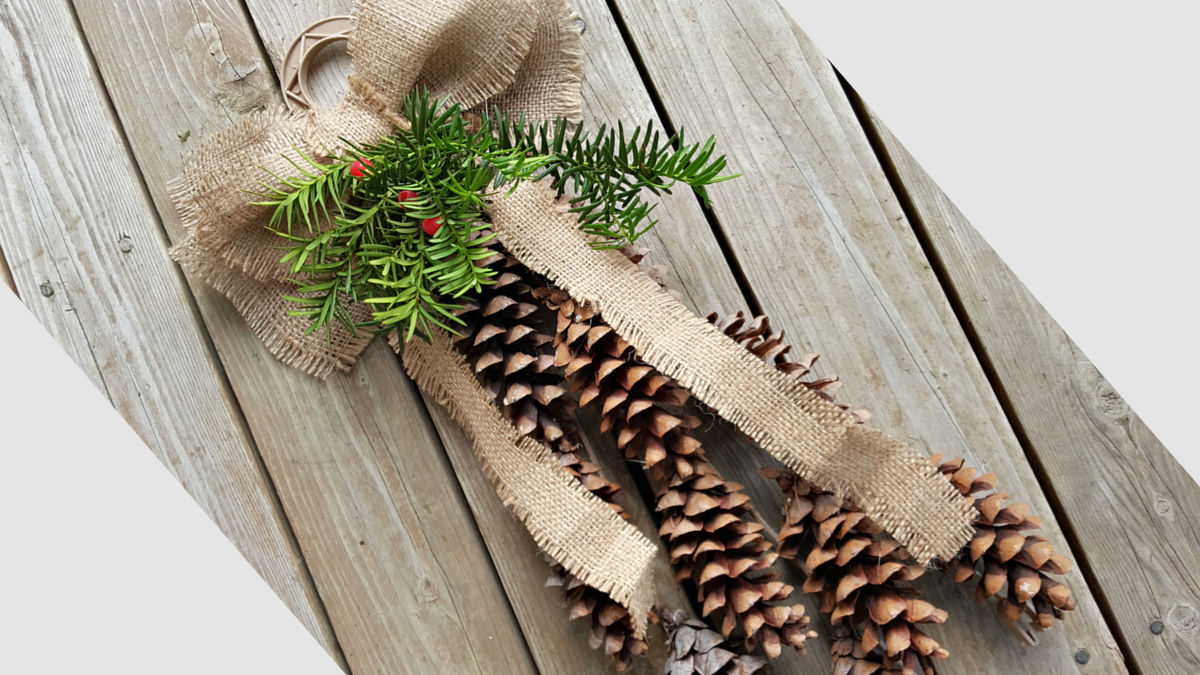
This is the front view of the decoration.
3. Add colorful accessories.
Glue a sprig of greenery and some berries to the decoration. Upcycle these decorative touches from other decorations you no longer use if natural materials are not available.
- We have a yew tree that always needs trimming so I was happy to snip a few little branches with red berries attached.
It’s the perfect finishing touch to this Christmas decoration!
You can use artificial greenery and berries if natural items are not available.
Christmas Pinterest board
Decorations can be as fun much to make as they are to display!
This craft is an fun and easy way to use natural materials in your holiday decor.
Pine Cones Pinterest board for more fun with pine cones!