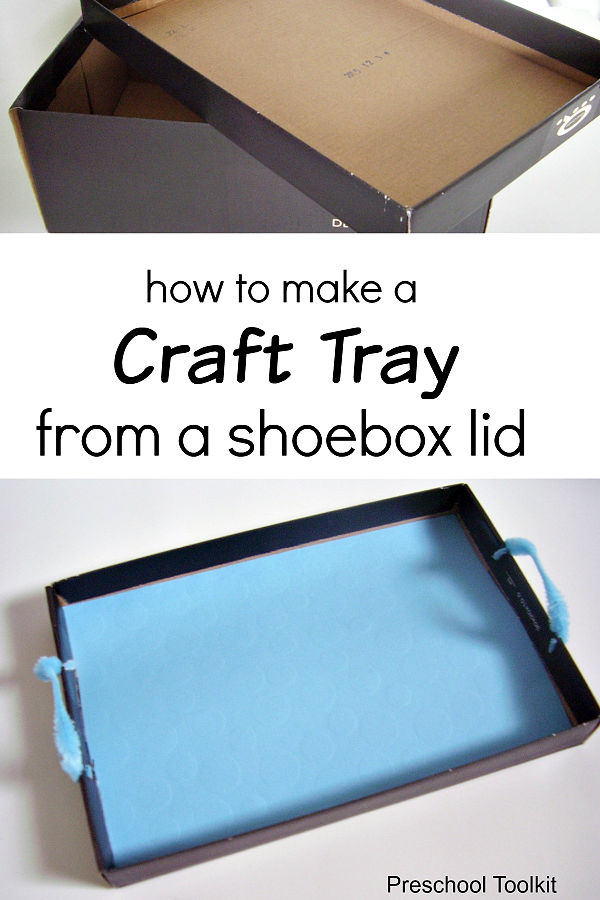
A homemade craft tray will provide easy access to craft supplies for preschool activities. Make set-up simple for your budding artist with a box lid craft tray.
Privacy Policy for information on use of cookies and affiliate links
Crafting with kids usually requires a lot of small items such as paper and pencils, crayons and markers, scissors and glitter and glue. Spend less time preparing and more time creating with a homemade craft tray.
This simple DIY project is a quick and easy solution for getting materials from the cupboard to the craft area. The tray also provides a convenient way for kids to help with cleanup.
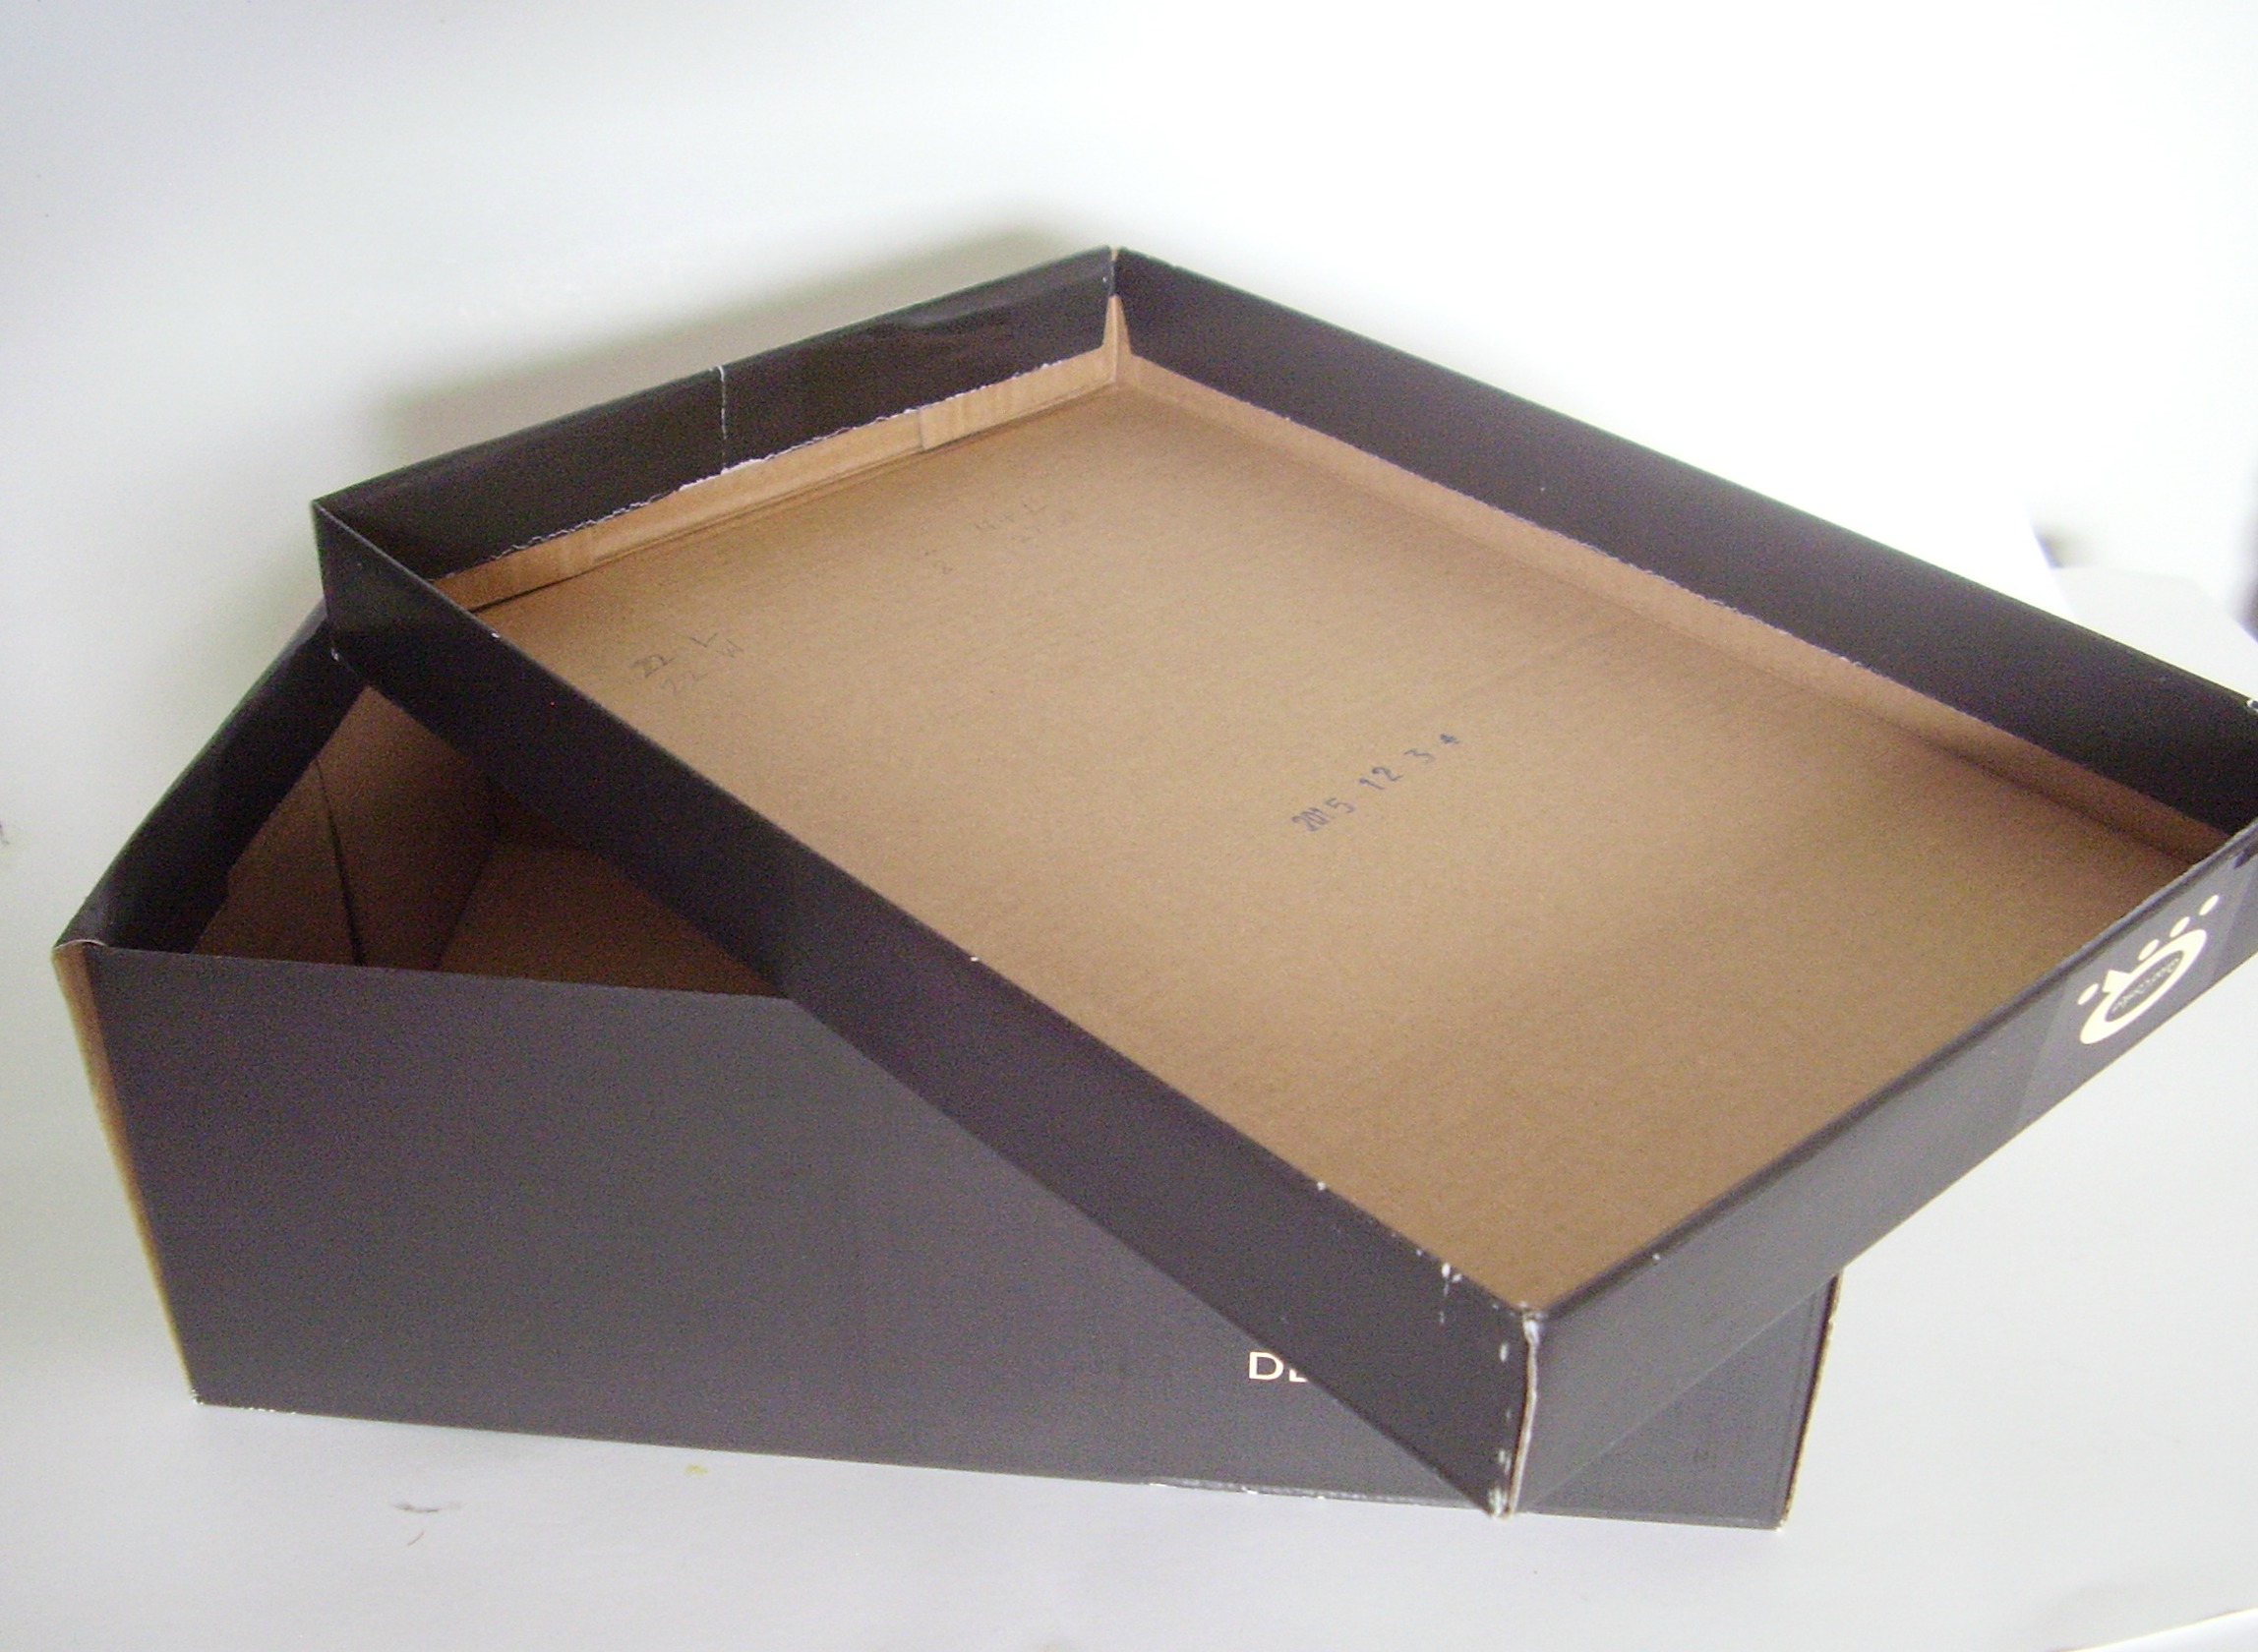
I only used the lid for this activity. I used the shoebox portion to make a barn for small world play. Nothing is wasted!
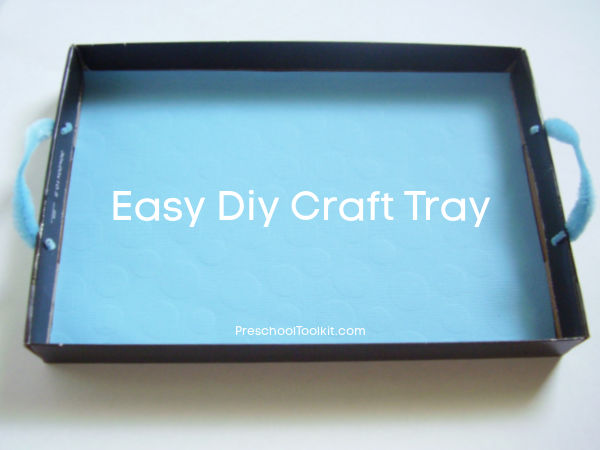
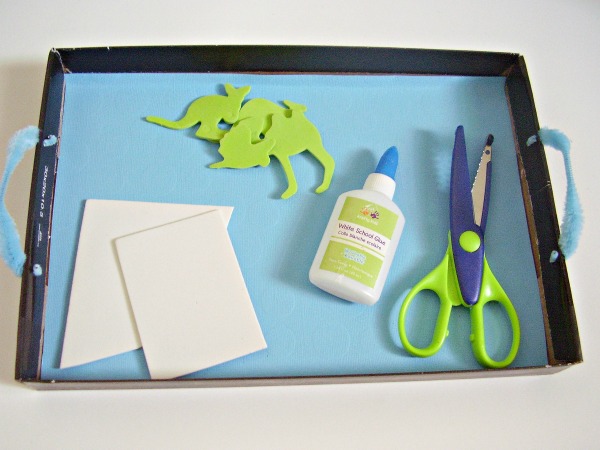
DIY Craft Tray
Instructions for craft tray:

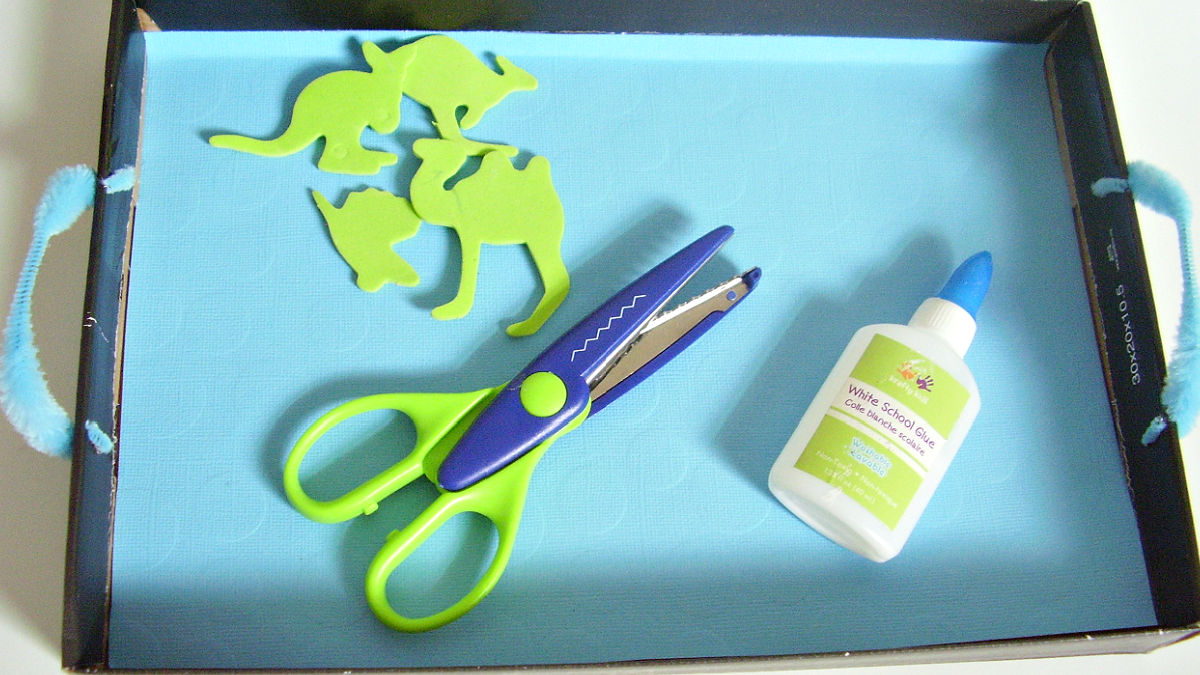
Step 1. Line the bottom and sides of the inside of a sturdy box lid with felt or a sheet of craft foam.
Step 2. Poke two holes on either side of the lid.
Step 3. Insert the ends of a chenille stem into the holes for handles. Bend or twist the ends to secure to the lid.
That’s it! This might be the simplest DIY ever.
At home, place the craft tray near the area where art supplies are stored.
In the classroom, place the tray on a shelf where kids can easily access it to carry art supplies to the work table.
At home or at school there are two ways to inspire process art sessions.
- Leave an empty tray near the art supplies so kids can make choices from a variety of accessible materials.
- Fill the tray with art supplies to provide an opportunity for kids to be creative.
Either way, when you hear…… Can we do a craft? …….you’ll be ready to inspire your budding artists.
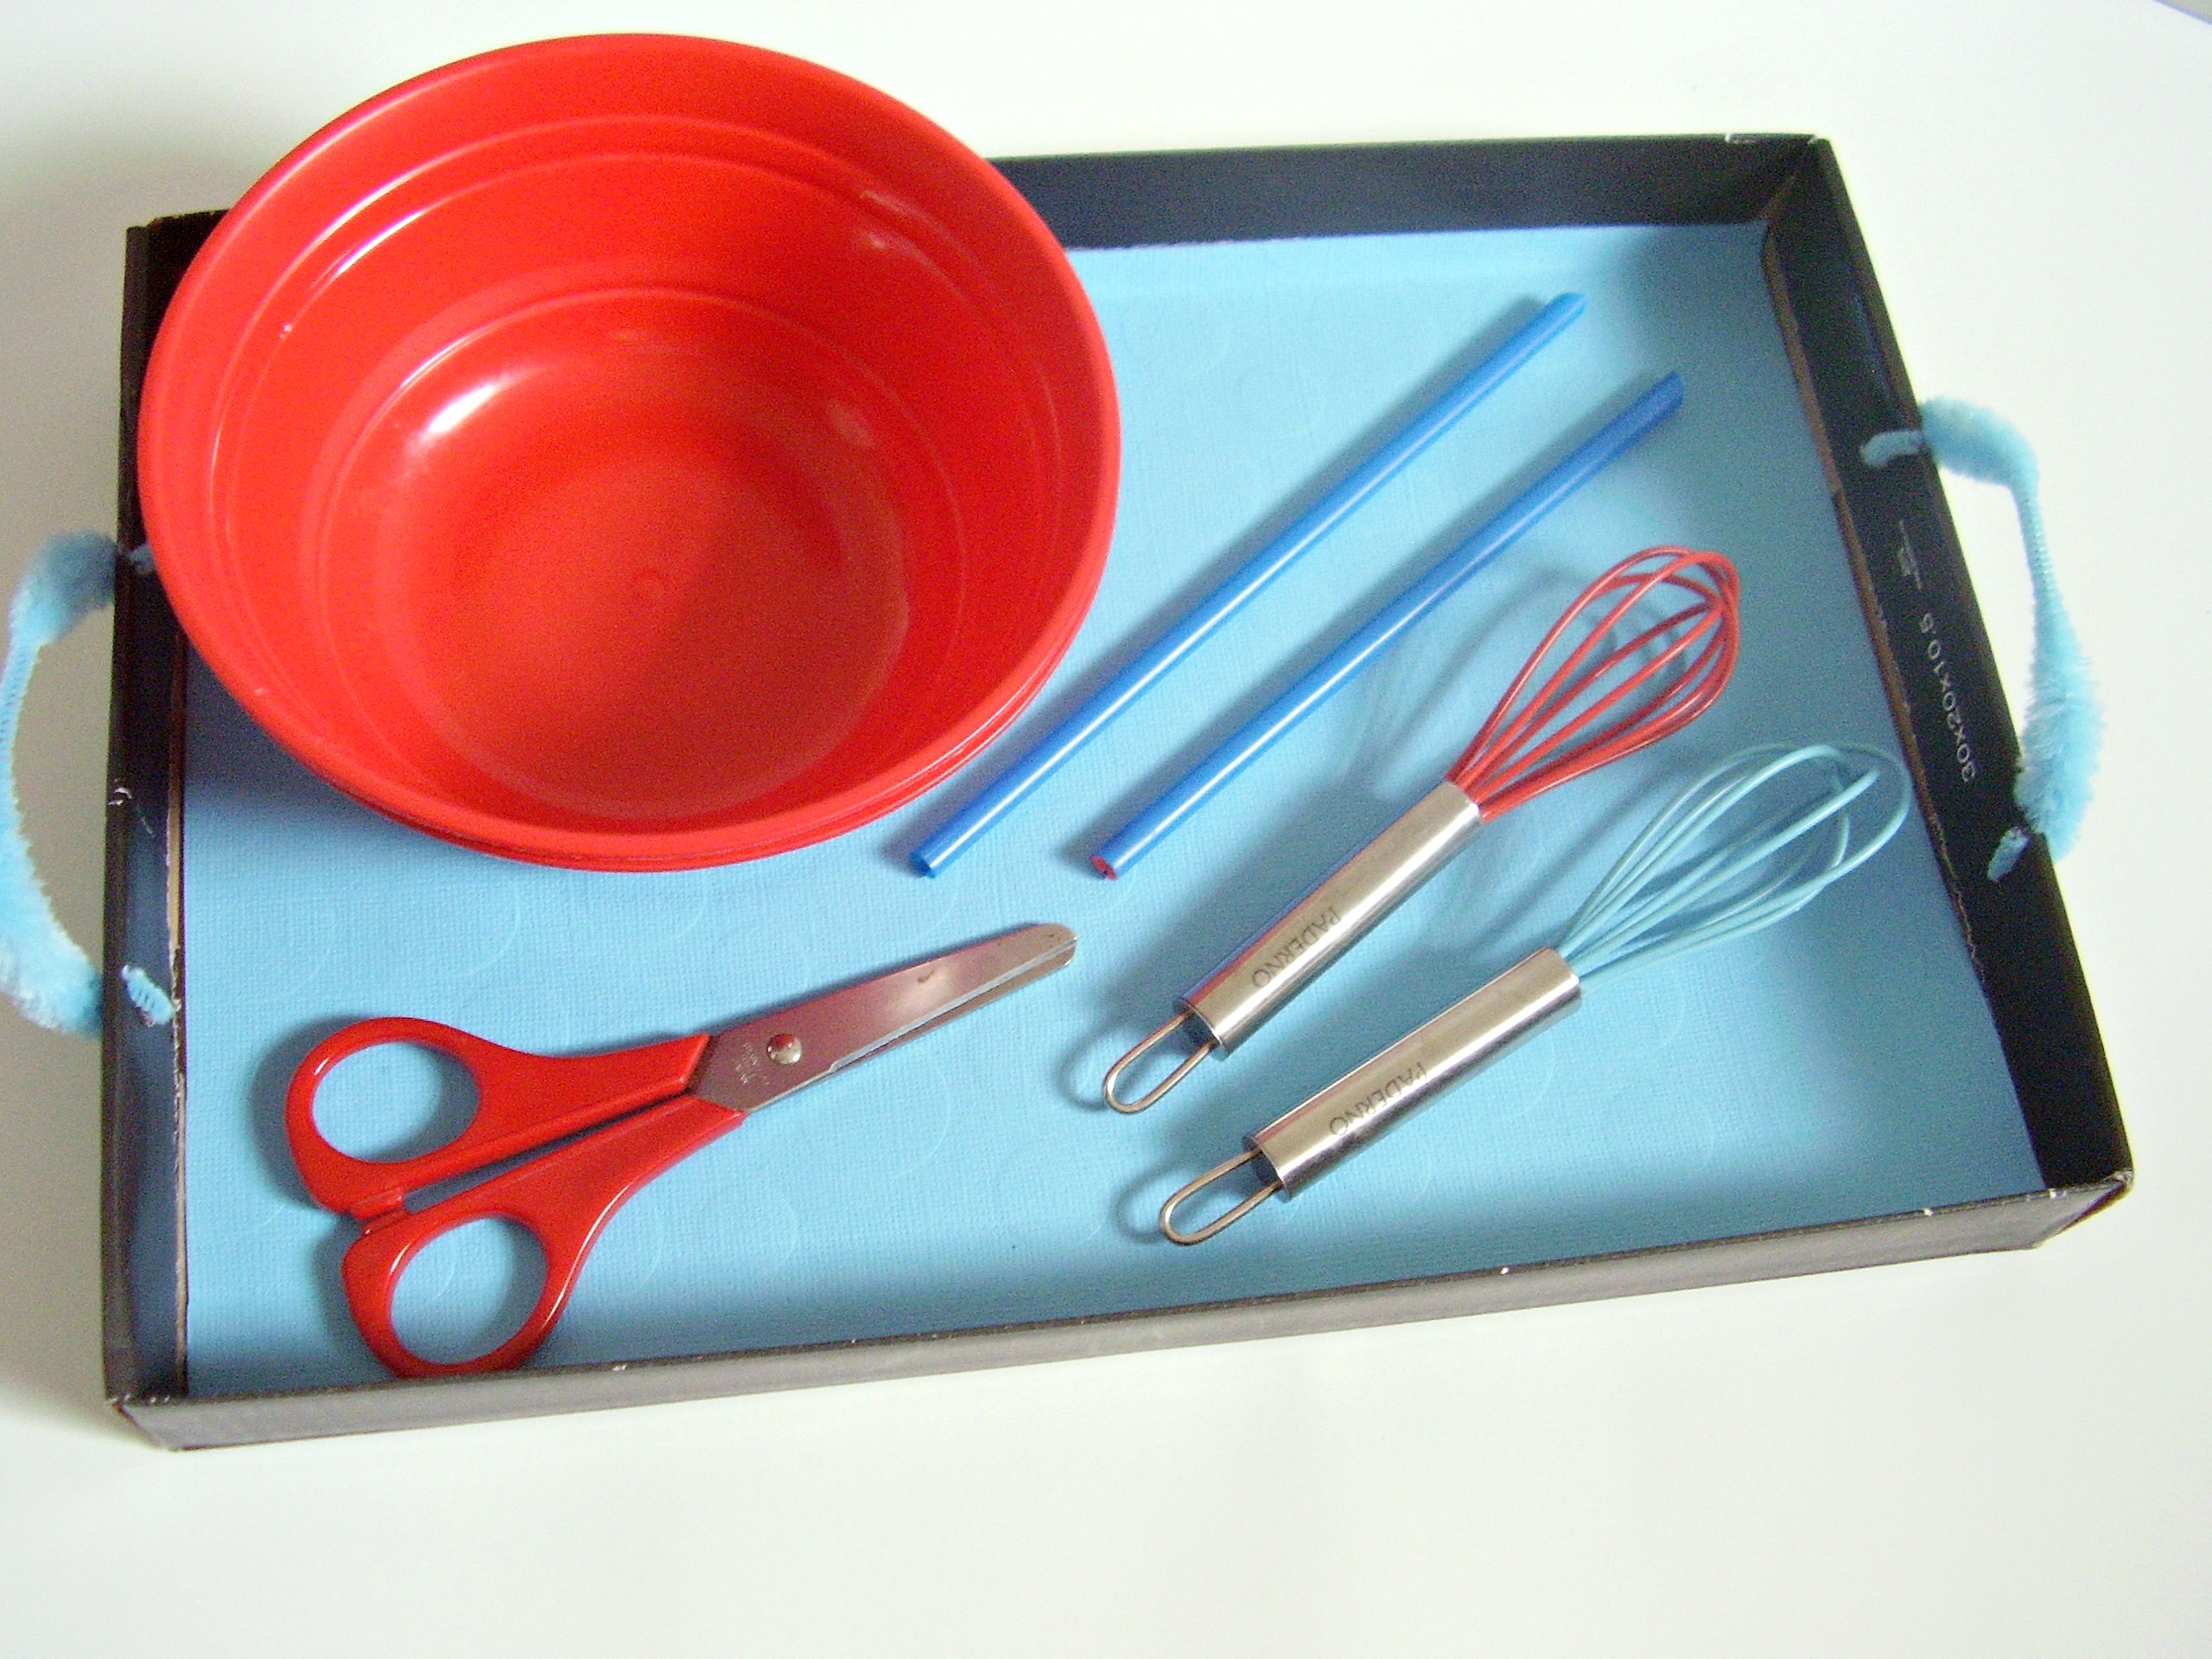
You can also use a tray for the dramatic play area of your preschool or home environment. Carry items for pretend play to the play area. This tray is filled with items for making soup or stew: bowl and whisks; scissors for cutting straws into small pieces (ingredients) to stir in the bowl.
Related: Kids own craft box